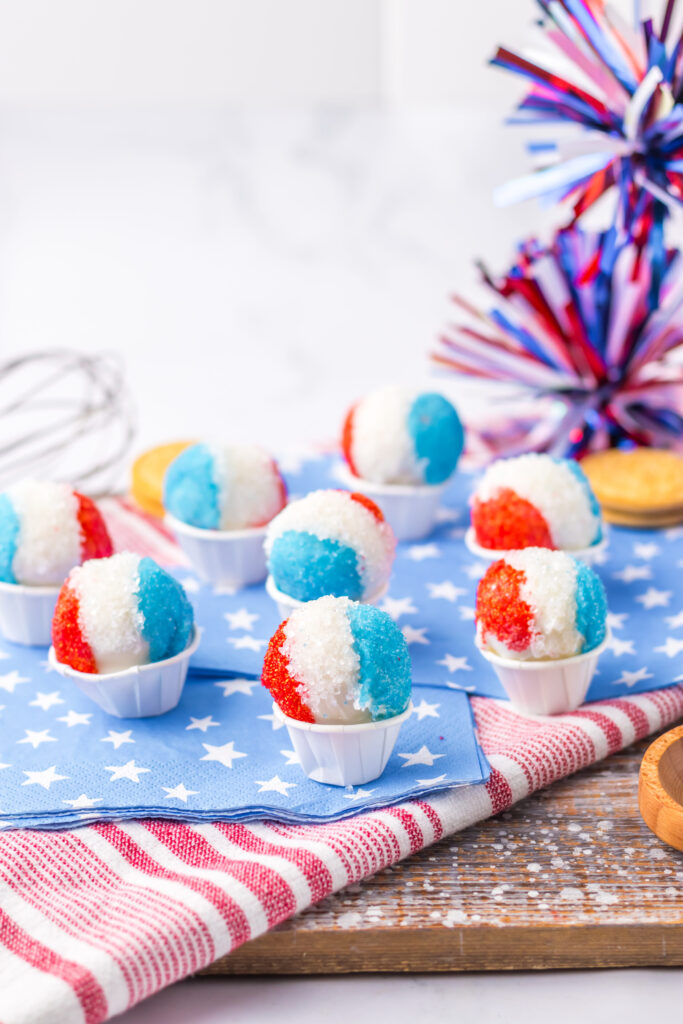
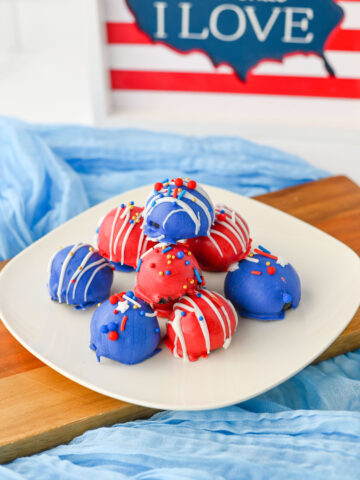
These Snow Cone Oreo Truffles are a no-bake, summer dessert perfect for any Memorial Day, 4th of July, or summer BBQ. With only 4 ingredients needed, these Oreo balls add a fun addition to any spread! Perfect for both kids and adults!
Want to save this recipe?
Enter your email & I'll send it to your inbox. Plus, get great new recipes from me every week!
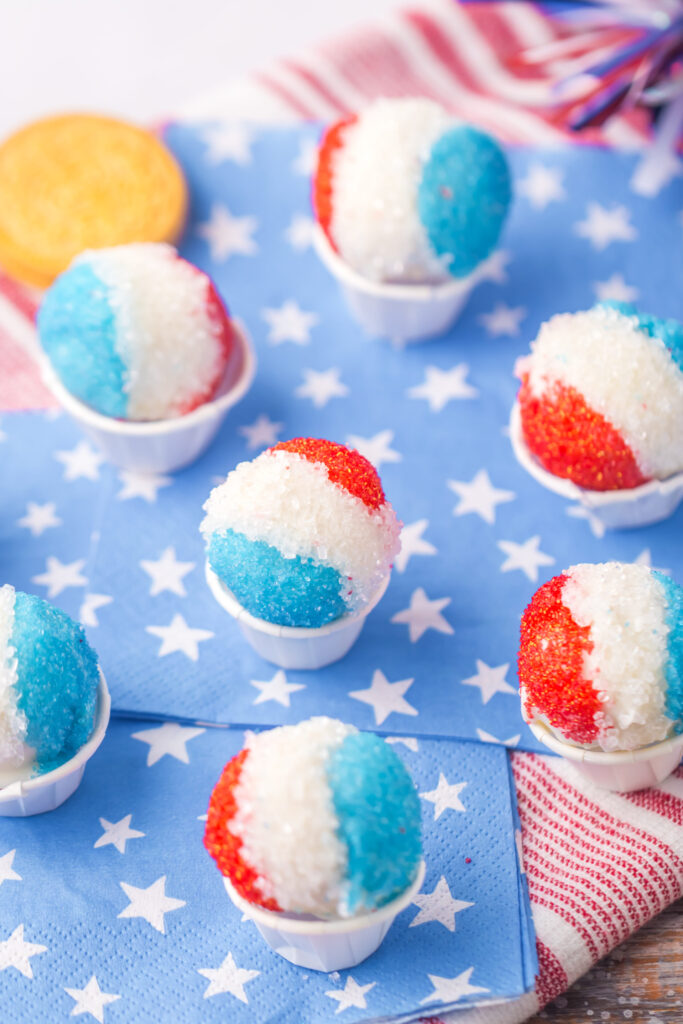
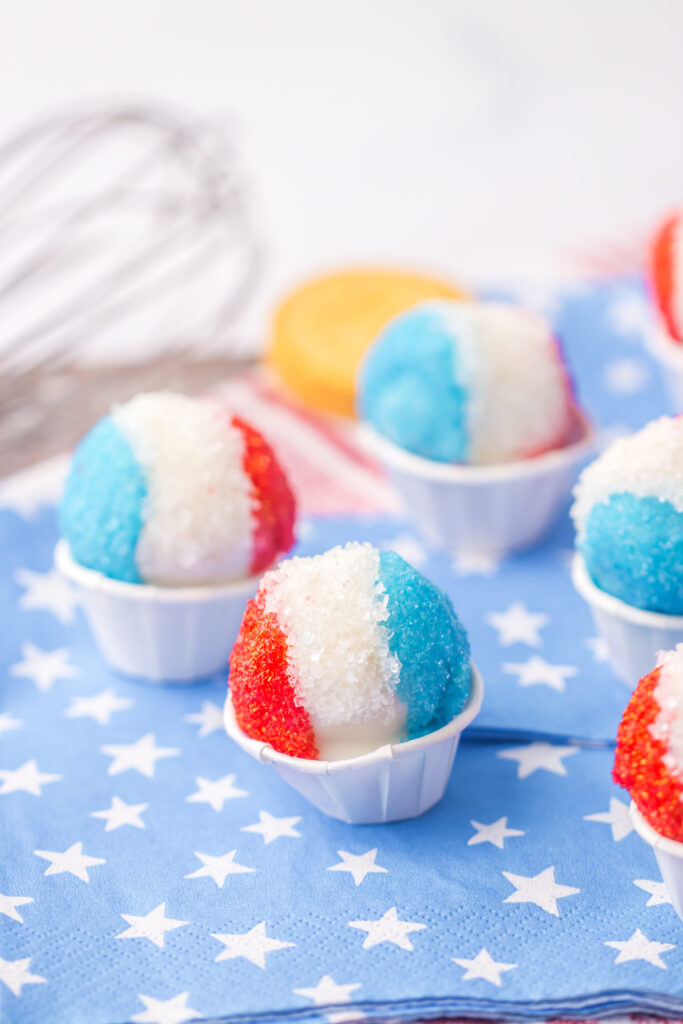
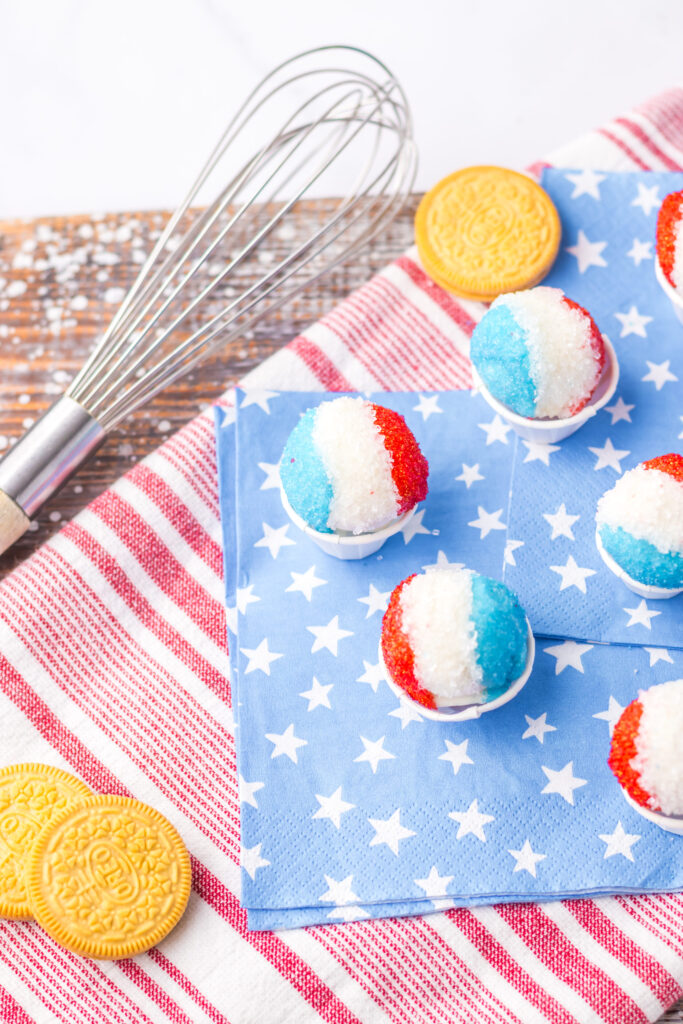
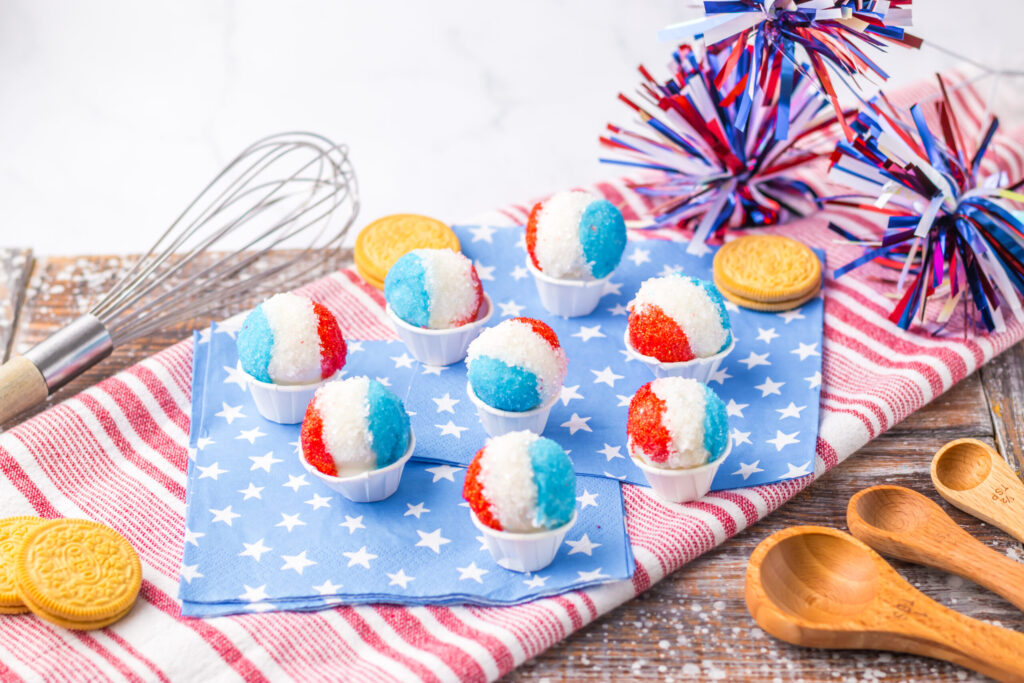
I don’t know about you, but I sure love a themed dessert. Especially ones that are no-bake and sure to be a hit with everyone any time they’re made. These bite sized treats look like mini snow-cones on the outsider, and are creamy and delicious on the inside. Combining vanilla Oreo’s with cream cheese and dipping in vanilla almond bark, how can you go wrong?! Kids love making these treats If you’re hosting a party or attending one, also check out my Patriotic Puppy Chow and Cheesecake Salad for more no-bake, tasty options!
Jump to:
Why You’ll Love these Snow Cone Oreo Truffles
These chocolate Oreo truffles take simple ingredients and make them incredible. In fact, I guarantee these will be the talk of any party!
- No-Bake– not only do you not need to bake these, you also can prepare them ahead of time. Keep the heat out of the kitchen on those hot summer days.
- Kid Friendly– since these are no bake, these are the perfect way to get kids involved in the kitchen. Let them roll these into the balls, or let them help dip into the sprinkles.
- Perfect for any crowd– since you can control how big or small you want these to be, you can make enough for any party, gathering, or occasion.
- Customizable– although I used sanding sugar to make these resemble snow cones, you can use any color of sprinkles to fit any Holiday. Red and pink for Valentine’s Day, add green and red for Christmas, orange and black for Halloween, etc.
Snow Cone Oreo Truffles Ingredient Notes
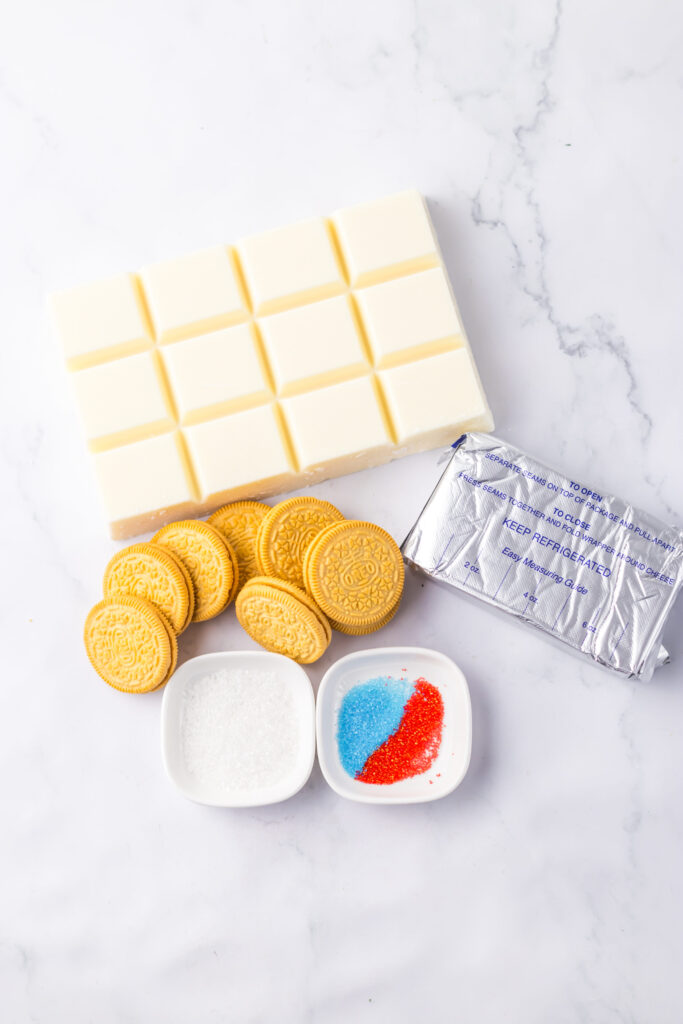
Since you only need 4 ingredients for this Oreo Truffles recipe, chances are, you may already have what is needed on hand. See printable recipe card at the bottom of this post for exact measurements and directions.
- Cream Cheese– you’ll want this to be softened to room temperature so it combines with the cookie crumbs easily.
- Oreo’s– you’ll need a 13 ounce package of vanilla Oreo’s. You can use store brand too if desired.
- Almond Bark– I used vanilla almond bark for this recipe, but chocolate almond bark works great too. You could also use white melted chocolate chips or white melting wafers for the candy coating.
- Sanding Sugar– red, white, and blue sanding sugar is best to fit the theme. If making for a different Holiday or occasion, change the colors to fit.
- Disposable Paper Souffle Cups– these are optional, but they really make these into snow-cones and are the perfect way to serve the Oreo balls at any party.
How to make this Oreo Truffles Recipe
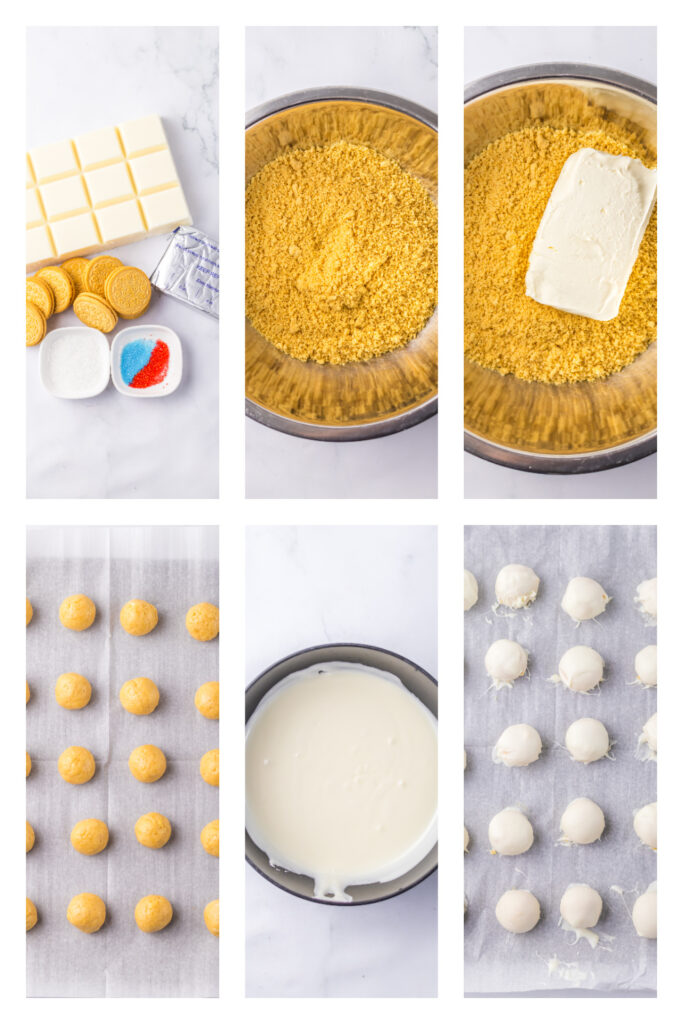
- Add the Oreo’s to a food processor and blend until fine crumbs form. Dump the crumbs into a medium sized mixing bowl. Add the cream cheese and beat using a hand mixer until everything is mixed together and a wet dough forms.
- Form into ½ inch balls and place on a parchment paper lined tray. Once all formed place in the freezer for 30 minutes to 1 hour. Once they come out of the freezer grab a small microwaveable bowl and add half the almond bark to it and microwave and stir until completely melted.
- Once melted, drop a ball into the almond bark and flip around using a fork until completely coated, scoop the ball up with the fork and then wipe the bottom of the fork off on the side of the bowl. Using another fork gently slide the ball back onto the parchment paper, making sure to have the end you wiped face down.
- In three separate bowls add white sanding sugar to one bowl, red in another and blue in the last bowl. In a new microwave safe bowl add the other half of the almond bark and melt in the microwave.
- Using a small paint brush or butter knife, dip the cookie ball into the melted almond bark and paint the almond bark on the side of the ball, immediately dip in the red sprinkles. Then repeat, paint a line of the almond bark down the middle of the ball and then dip into the white sugar, let dry (takes about 5-10 seconds to hardened) then paint the last side of the ball and dip into the blue sugar and let sit back on the parchment paper.
- Repeat those steps to all the truffle balls until done. This extra step made them extra adorable, I used these little paper cups and sat them in the cups to really make them look like snow-cones. Enjoy!
Pro Tip: Work quickly when painting on the almond bark and adding the sprinkles! The almond bark dries fast! Make sure the sprinkles and almond bark have hardened before moving to the next color.
Storing Snow Cone Oreo Truffles
- Place the cookie balls into an airtight container in your refrigerator for up to 4 days. If keeping at room temperature to serve, don’t keep them out longer than about 3 hours as they will get quite soft and not as easy to enjoy without making a mess.
- If freezing, don’t decorate with sprinkles and simply place in a freezer safe container for up to 3 months. Thaw in fridge before decorating and serving.
FAQ’s for making these Truffles
How do I know what size to make the balls in order to fit into the paper cups?
The easiest way is to make one ball and test it. Once you get the size right, you can make the rest of the balls that size. If you find that the Oreo balls are too big, you can carefully open the cups a bit to make them bigger.
What else can I use in place of the almond bark?
White chocolate chips and candy melts work as a great substitute.
How far in advance can I make these 4th of July Oreo Balls?
You can make these up to 48 hours in advance and store in the fridge.
What if I don’t have a food processor?
No problem at all! Place the Oreo’s in a large Ziploc bag and crush them using a rolling pin. Once fine crumbs form, you can place into a mixing bowl and proceed with rest of recipe as directed.
More Oreo Desserts to try
Patriotic Oreo Truffles– celebrate the red, white, and blue with these delicious and easy to make Patriotic Oreo Truffles! The ultimate no bake sweet treat to make for any Fourth of July, Memorial Day, Labor Day, or summer BBQ!
Oreo Chocolate Brownie Trifle– with layers of brownies, Instant Chocolate Pudding, creamy whipped topping, and Oreo cookies…what’s not to love? This trifle recipe is perfect for parties, gatherings, picnics, and more!
No-Bake Chocolate Peanut Butter Oreo Dessert– a flavor packed sweet treat that consists of crushed Oreo’s, a creamy peanut butter layer, decadent chocolate layer, and topped with whipped cream.
Fudgy Oreo Brownies– rich, easy to make, and filled with chopped Oreo cookies throughout! These decadent homemade brownies are a crowd favorite and a great way to satisfy that sweet tooth craving!
Oreo Dirt Cake– one of the best desserts taking only minutes to prepare. Deliciously addicting, this dirt cake is loaded with chocolate goodness in every bite. Moist chocolate cake combined with hot fudge, pudding, Cool Whip, and crushed Oreo’s! The ULTIMATE sweet tooth lovers dessert!
Want to save this recipe?
Enter your email & I'll send it to your inbox. Plus, get great new recipes from me every week!

Snow Cone Oreo Truffles Recipe
Ingredients
- 8 oz cream cheese softened
- 13 oz vanilla Oreo cookies
- 24 oz vanilla almond bark
- ¼ cup red, white, and blue sanding sugar divided
- ½ oz disposable paper soufflé cups optional
Instructions
- Add the Oreo's to a food processor and pulse until fine crumbs form. Dump the crumbs into a medium sized bowl. Add the cream cheese and beat using a hand mixer until everything is mixed together and a wet dough forms
- Form into ½ inch balls and place on a parchment paper lined tray. Once all formed place in the freezer for 30 minutes to 1 hour.
- Once they come out the freezer grab a small microwaveable bowl and add half the almond bark to it and microwave and stir until completely melted.
- Once melted, drop a ball into the almond bark and flip around using a fork until completely coated, scoop the ball up with the fork and then wipe the bottom of the fork off on the side of the bowl.
- Using another fork gently slide the ball back onto the parchment paper, making sure to have the end you wiped face down.
- In three separate bowls add white sprinkles to one bowl, red in another and blue in the last bowl. In a new microwave safe bowl add the other half of the almond bark and melt in the microwave.
- Using a small paint brush or butter knife, dip it in the melted almond bark and paint the almond bark on the side of the ball, immediately dip in the red sprinkles. Then repeat, paint a line of the almond bark down the middle of the ball and then dip into the white sprinkles, let dry (takes about 5-10 seconds to hardened) then paint the last side of the ball and dip into the blue sprinkles and let sit back on parchment paper.
- Repeat those steps until done. I used little paper cups and just sat them in the cups to really make them look like snow cones. Enjoy!

Kristin says
Such an easy to make treat that make kids LOVE!