
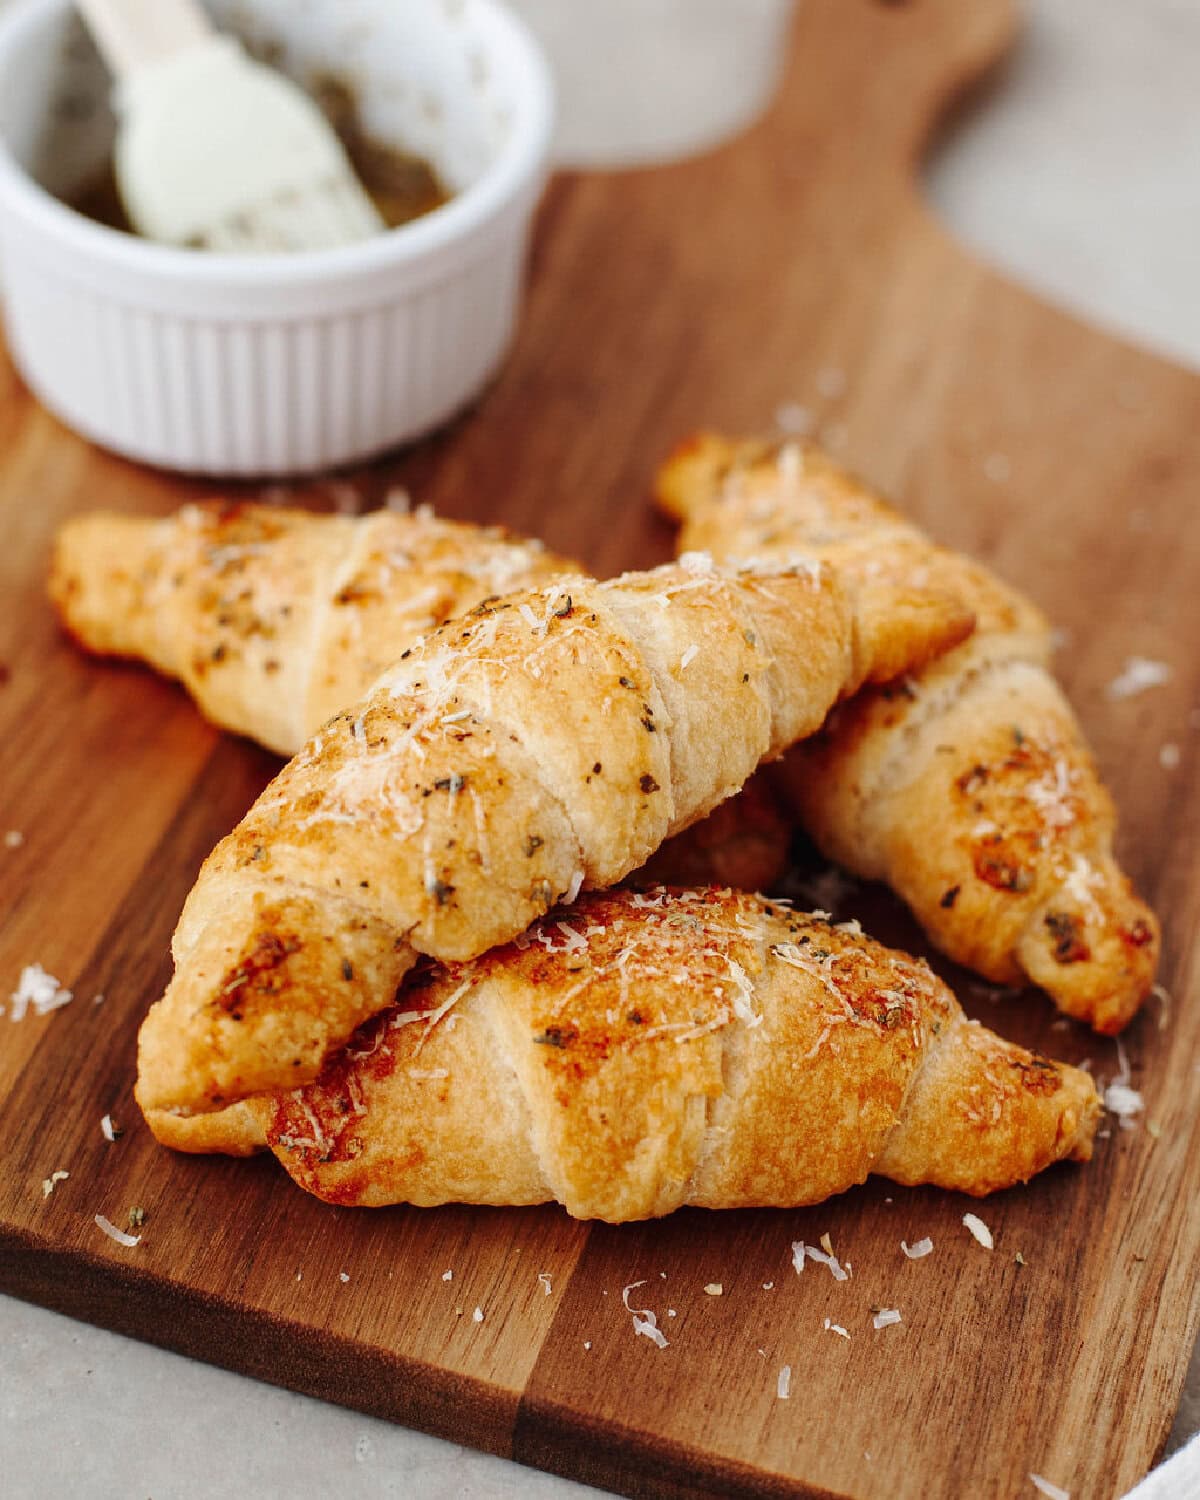
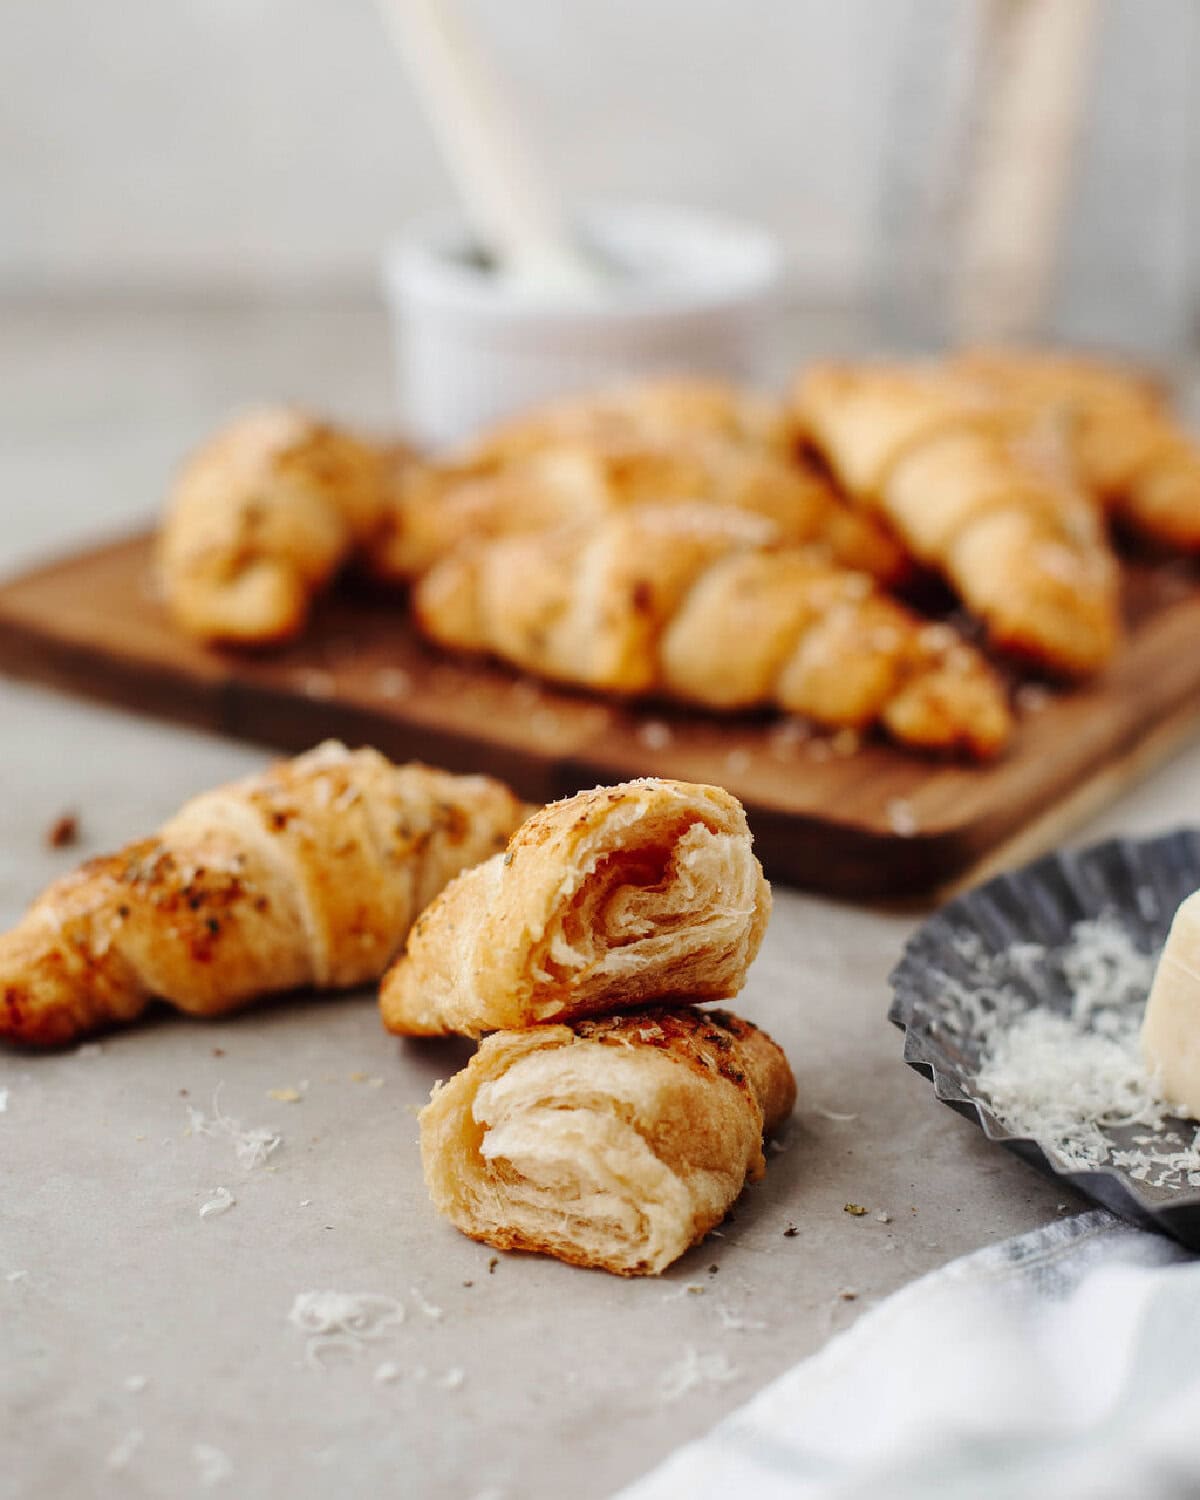
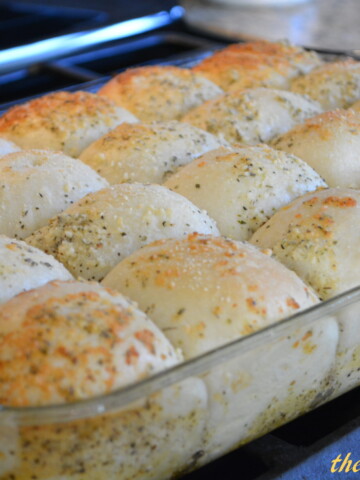
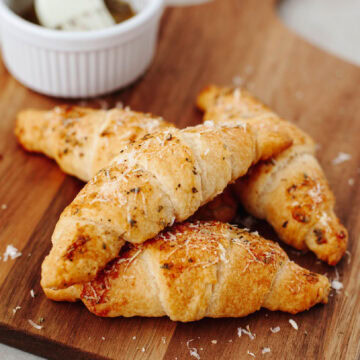
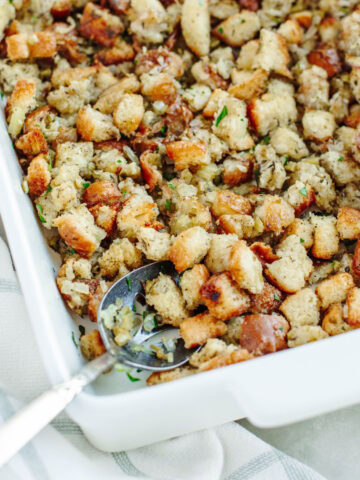
Garlic Cheese Crescent Rolls are soft, buttery crescent rolls brushed with garlic butter, topped with Parmesan cheese, and baked until golden brown. They're like easy garlic bread made with refrigerated crescent dough!
Crescent rolls are one of my favorite easy side dishes for dinner because they're quick, affordable, and always a family favorite. After brushing them with a simple garlic butter mixture and topping them with Parmesan cheese, they instantly became our new favorite bread recipe. The kids went crazy for them, and now these garlic cheese crescent rolls are one of the most requested sides in our house, even at Thanksgiving dinner! They remind me of my cheesy garlic pull apart bread, simple, buttery, cheesy, and always the first thing to disappear from the table.
Quick Look: Garlic Cheese Crescent Rolls
- Prep Time: 5 mins
- Cook Time: 12 mins
- Total Time: 17 mins
- Servings: 8
- Texture: Soft, buttery, flaky
- Method: Oven baked
- Best For: Easy side dish, holiday bread, quick appetizer
SUMMARIZE & SAVE THIS CONTENT ON
Jump to:
Can You Make Garlic Bread with Crescent Rolls?
Yes! These garlic cheese crescent rolls are like a shortcut version of homemade garlic bread using refrigerated crescent dough. Brushed with garlic butter and topped with Parmesan cheese, they bake up soft, buttery, and perfectly golden brown in just minutes.
Ingredient Notes
See the printable recipe card below for exact ingredients and full directions.
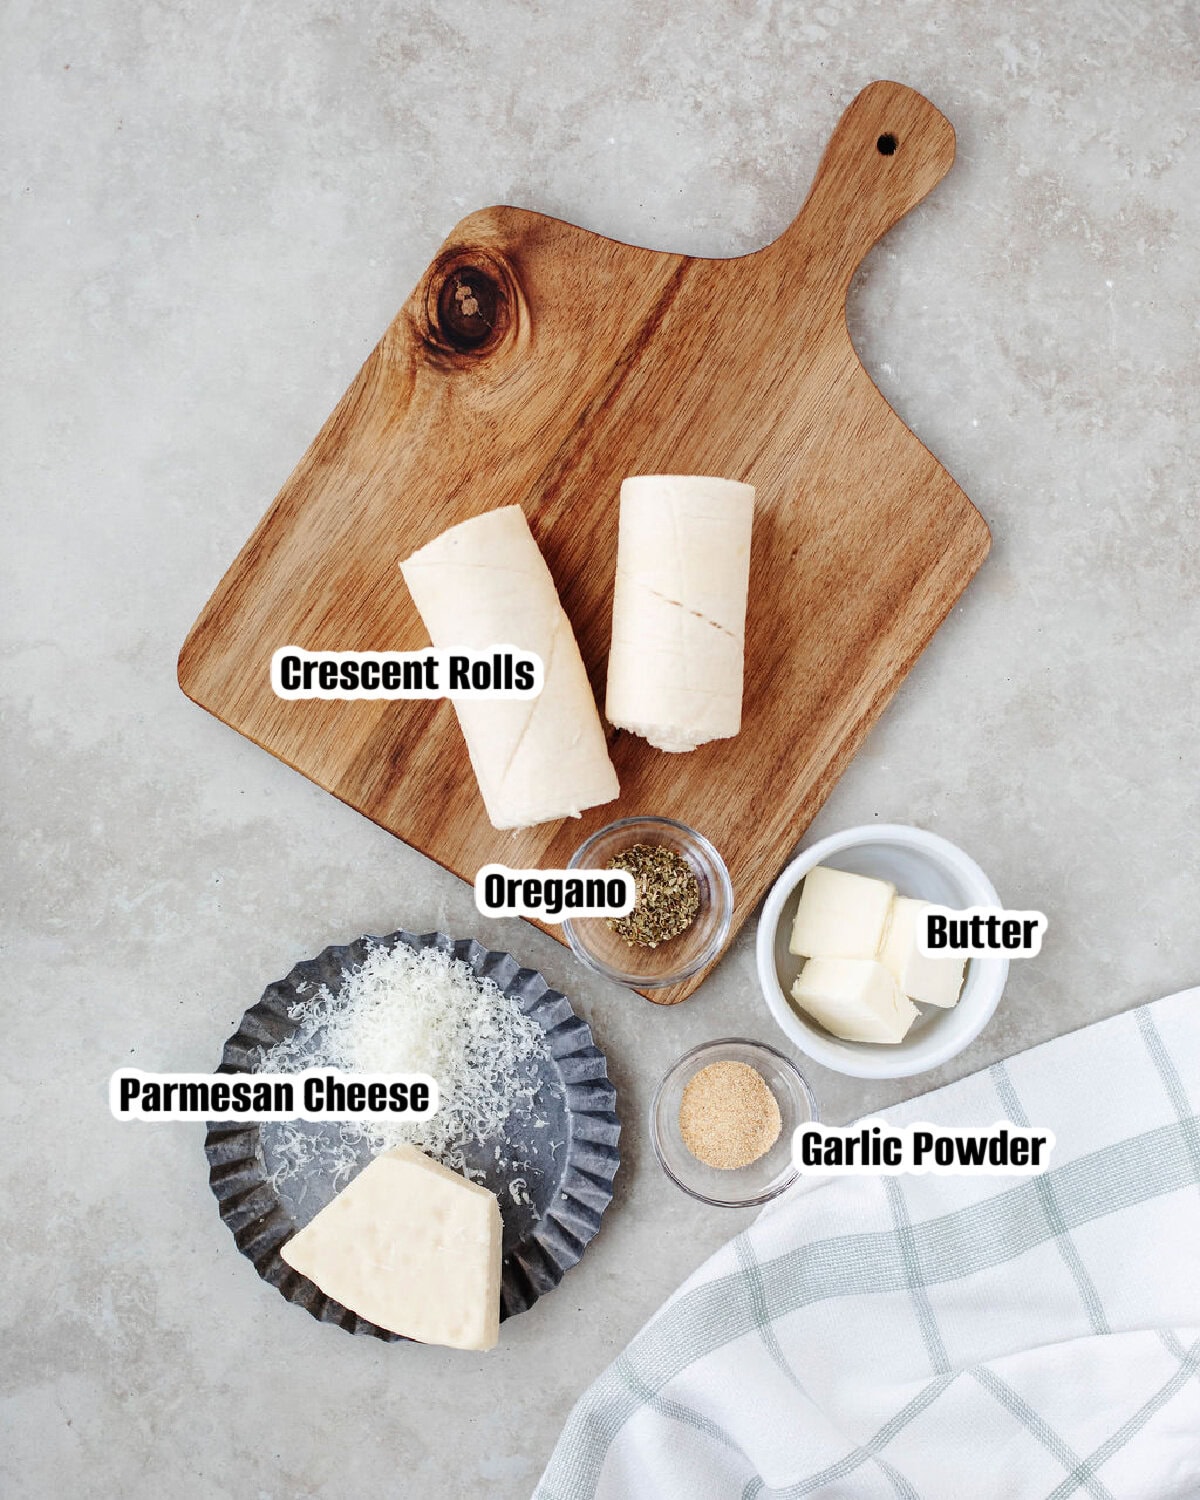
- Crescent Rolls: I use an 8-count tube of refrigerated Pillsbury crescent rolls for the easiest shortcut version of this recipe.
- Garlic Powder: Adds quick garlic flavor, but fresh minced garlic can also be used for an even stronger garlic butter flavor.
- Parmesan Cheese: Grated Parmesan works best since it's easy to sprinkle evenly over the crescent rolls before baking.
Recipe Variations
- Pepperoni: Add sliced pepperoni before rolling up the crescent dough for an easy appetizer-style version. Great dipped in marinara, just like my Pull Apart Pizza Bread.
- Mozzarella Cheese: Use half a mozzarella cheese stick inside each crescent roll for an extra cheesy center. Perfect served with marinara sauce on the side.
- Italian Sausage: Add cooked, crumbled Italian sausage to the crescent rolls before baking for a heartier side dish or quick snack.
- Italian Seasoning: Swap the oregano for Italian seasoning for even more garlic bread flavor.
- Cheesy Chicken Crescent Rolls: If you love easy recipes made with crescent roll dough, try filling them with a creamy chicken and cheese mixture for a heartier dinner option, just like my cheesy chicken crescent rolls.
How To Make Garlic Cheese Crescent Rolls
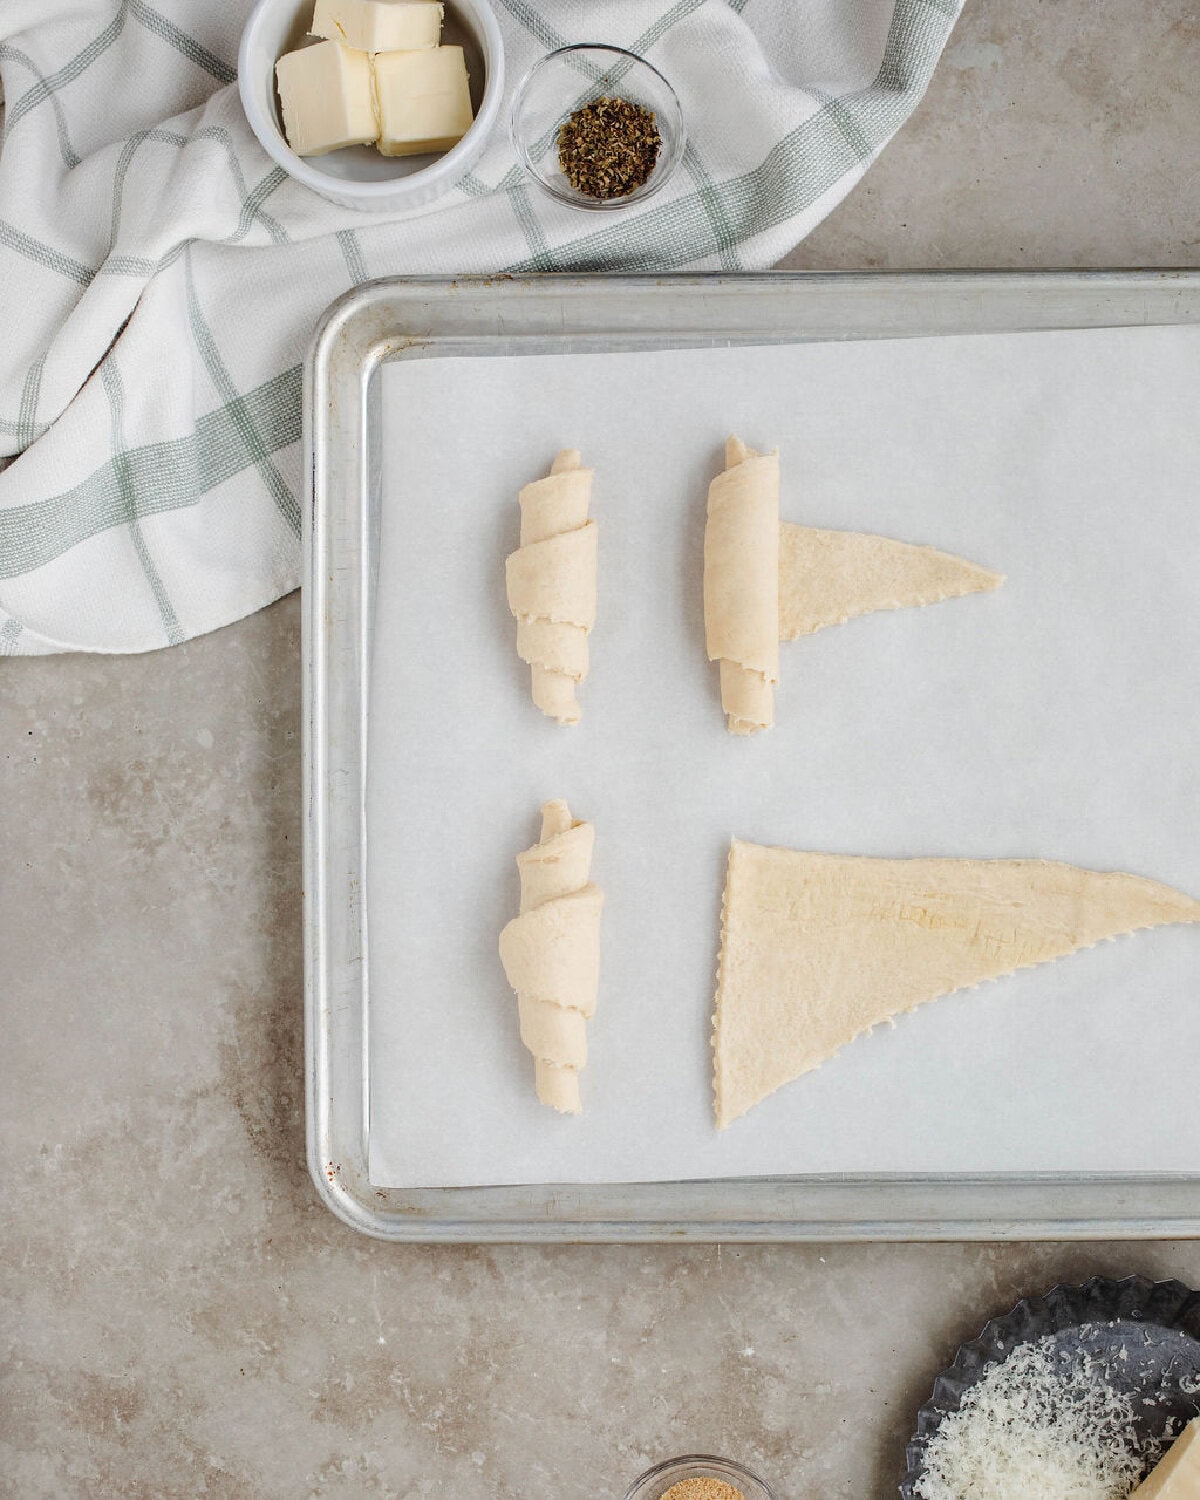
Step 1. Open the crescent roll dough and roll each triangle from the wide end to the short end to create a crescent shape. Place each roll onto a baking sheet lined with parchment paper.
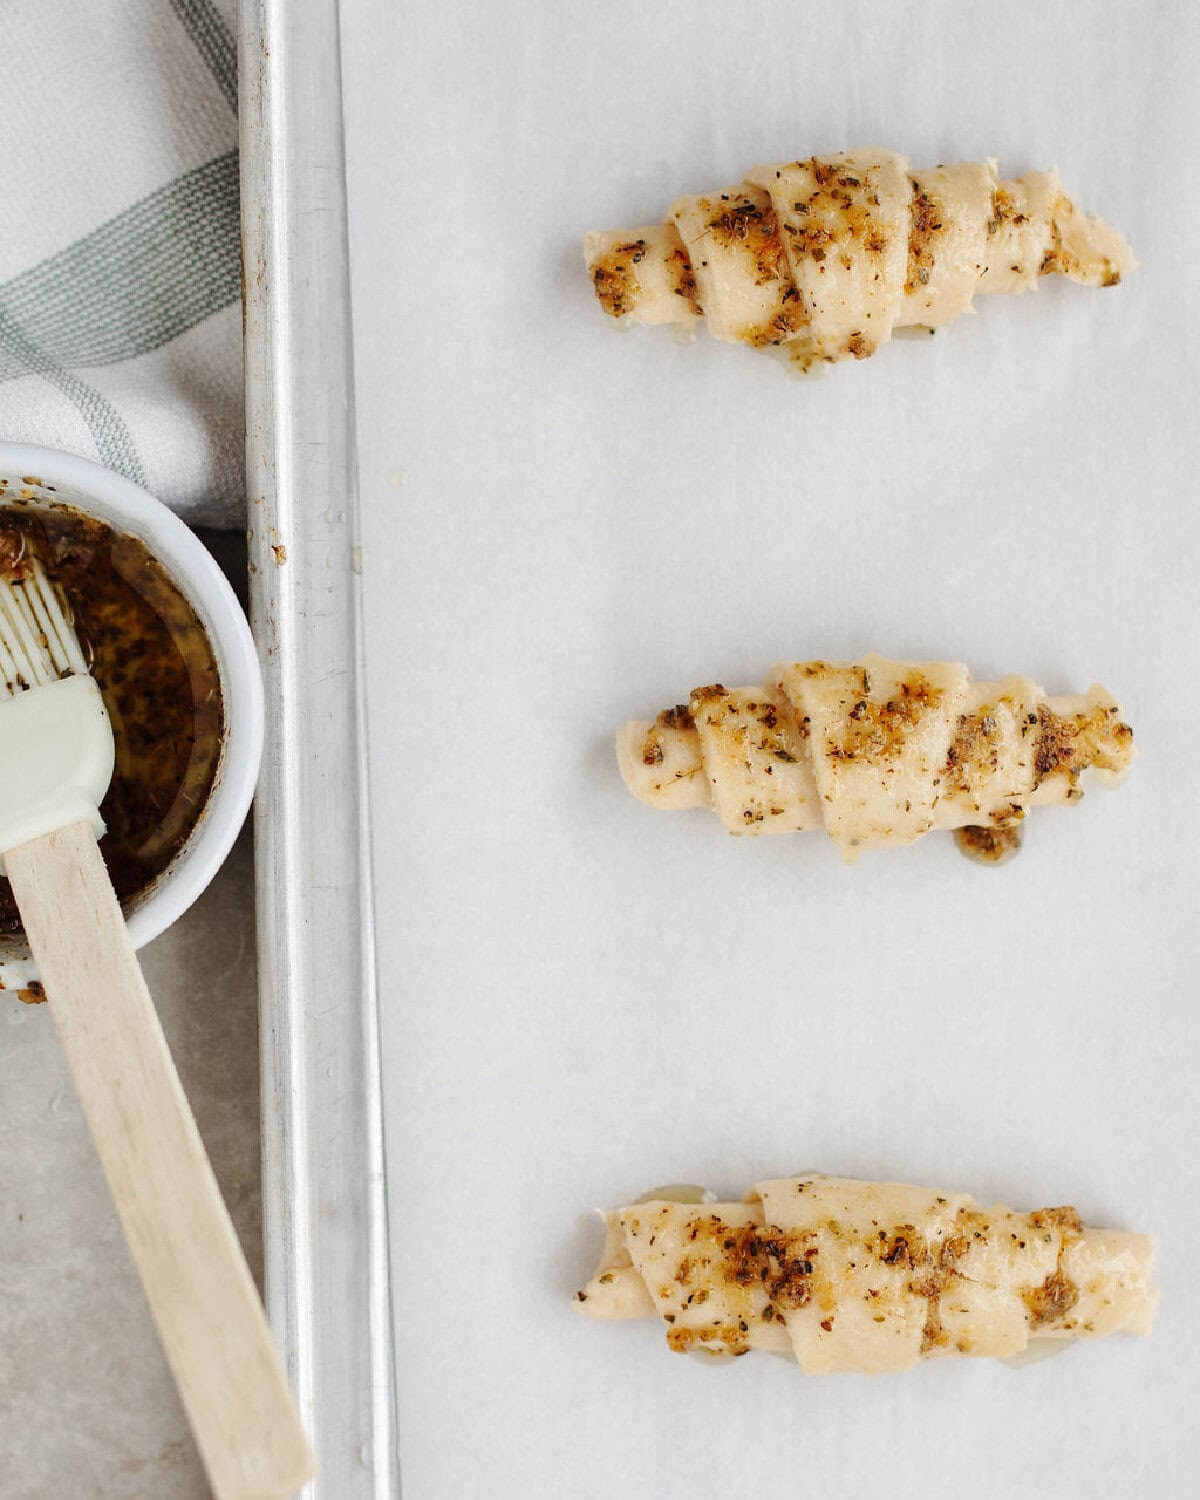
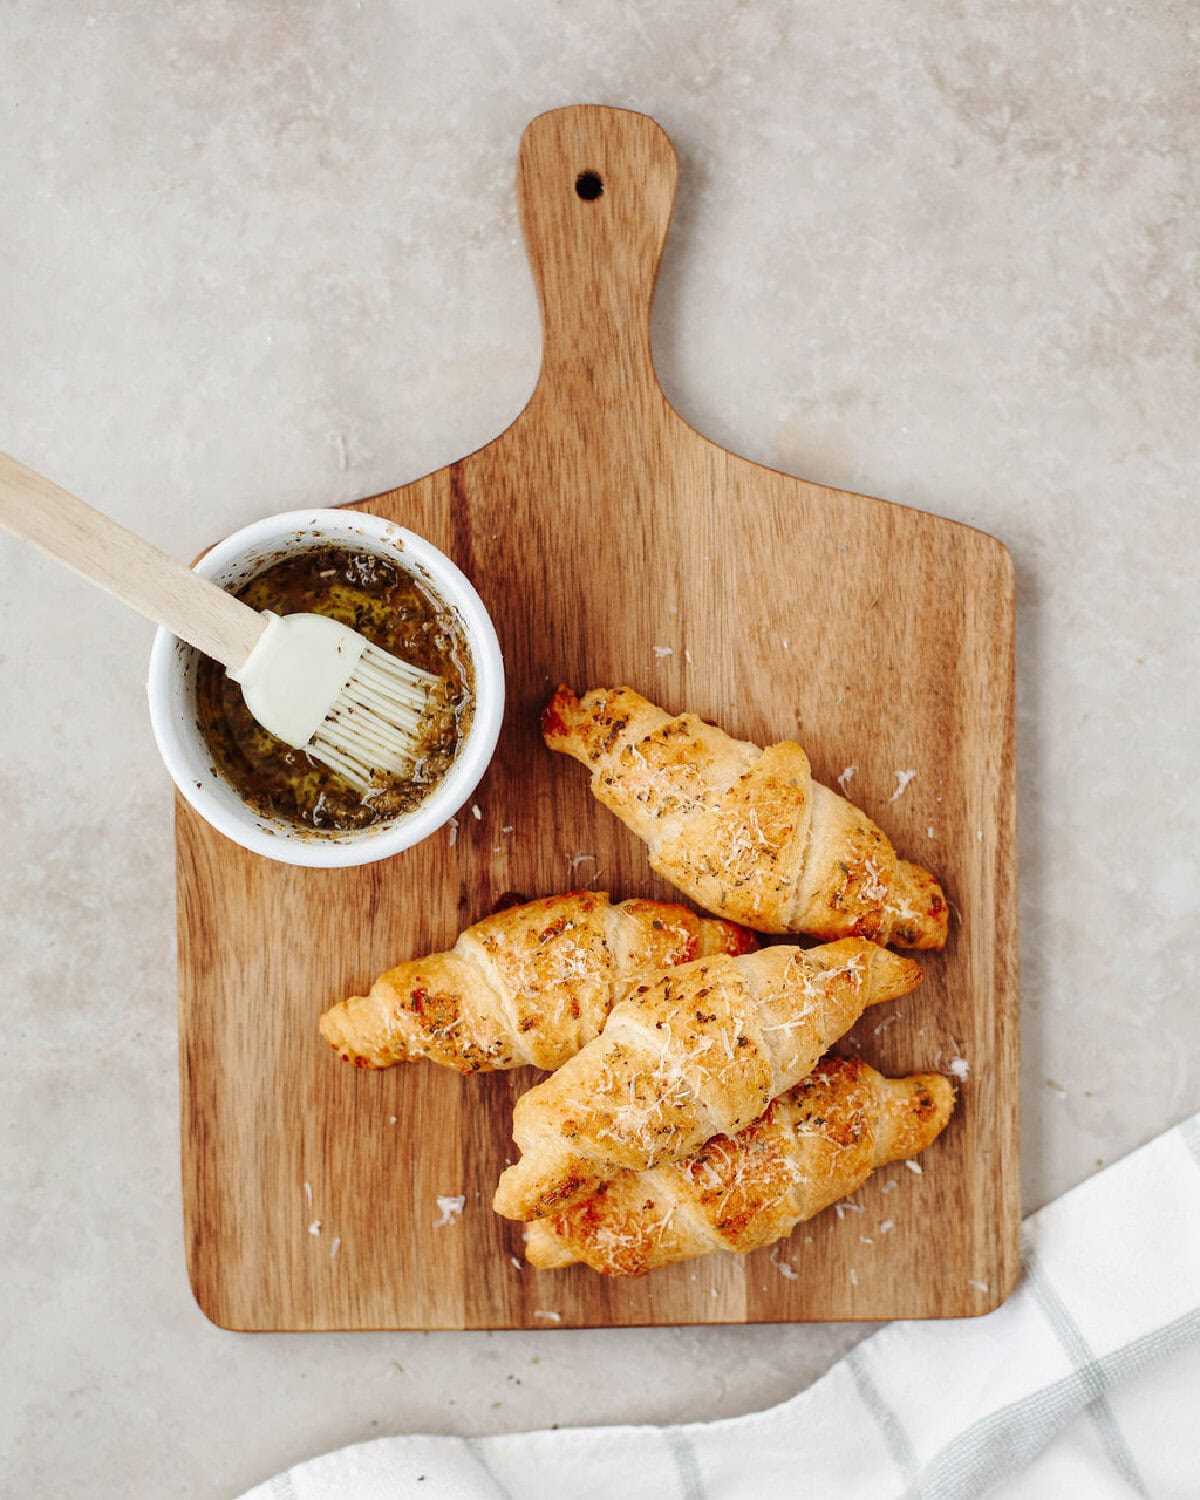
Step 2. In a small bowl, combine the melted butter, garlic powder, and oregano. Brush the garlic butter mixture evenly over each crescent roll.
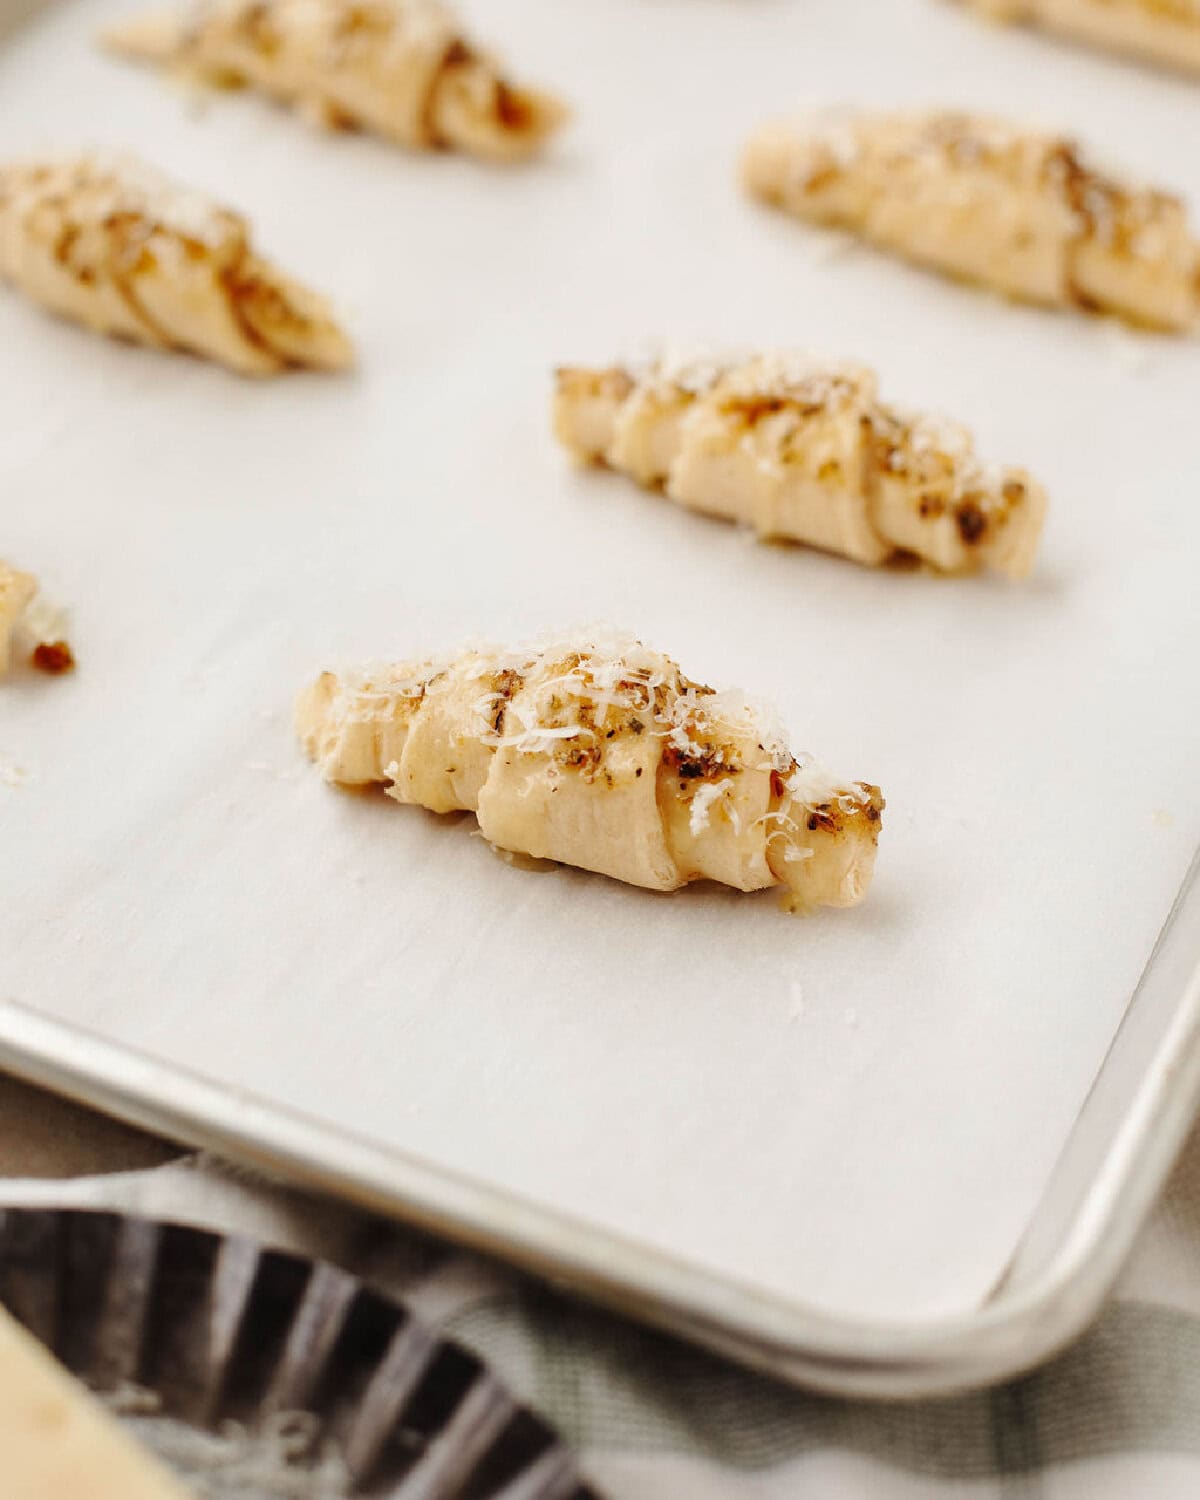
Step 3. Sprinkle the Parmesan cheese evenly over the tops of the crescent rolls.
Step 4. Place the baking sheet into a preheated 375 degree oven and bake for about 12 minutes, or until the crescent rolls are lightly golden brown. Serve warm and enjoy!
Tips for Success
- Don't overbake, remove the crescent rolls once they are lightly golden brown so they stay soft and buttery.
- Line your baking sheet with parchment paper for easier cleanup and to prevent sticking.
- Brush on a little extra garlic butter after baking for even more flavor.
- Freshly grated Parmesan melts and sticks better than the shelf-stable kind.
- Serve warm for the best cheesy garlic bread texture and flavor.
Storage & Reheating
- Refrigerator: Store leftover crescent rolls in an airtight container in the refrigerator for up to 4 days.
- Reheating: Warm in the microwave for about 20-30 seconds, or place in the oven for a few minutes to bring back the soft, buttery texture.
- Freezing: These garlic cheese crescent rolls are best enjoyed fresh and don't freeze as well, since the crescent dough can become soggy after thawing.
Garlic Cheese Crescent Rolls Recipe FAQs
Parmesan cheese works great for a savory topping, while mozzarella is perfect if you want a gooey, cheesy center inside the crescent rolls.
Yes! You can add cheese inside Pillsbury crescent rolls before rolling them up or sprinkle cheese on top before baking. Mozzarella, Parmesan, and cheddar all work well depending on the flavor you want.
Brushing them with melted garlic butter, adding cheese, and baking until golden brown is one of the easiest ways to upgrade canned crescent rolls.
You can add pepperoni, cooked Italian sausage, mozzarella cheese, or even a sprinkle of Italian seasoning to change up the flavor and make them even more filling.
More Bread Recipes You’ll Love

Tried this recipe? Leave a ⭐⭐⭐⭐⭐ rating and let me know what you think in the comments! You can also follow me on Pinterest for even more easy, family-friendly recipes.
Want to save this recipe?
Enter your email & I’ll send it to your inbox. Plus, get great new recipes from me every week!
Garlic Cheese Crescent Rolls
Equipment
Ingredients
- 1 tube Pillsbury Crescent Rolls 8 count
- 3 tablespoon butter melted
- 1 teaspoon garlic powder
- 1 teaspoon dried Oregano
- 2 tablespoon Parmesan cheese grated
Instructions
- Preheat oven to 375 degrees and line a baking sheet with parchment paper.
- Open the crescent roll dough and roll each triangle from the wide end to the short end to create a crescent shape. Place each roll onto the prepared baking sheet.
- In a small bowl, combine the melted butter, garlic powder, and oregano. Brush the garlic butter mixture evenly over each crescent roll.
- Sprinkle the Parmesan cheese evenly over the tops of the crescent rolls.
- Bake for about 12 minutes, or until the crescent rolls are lightly golden brown.
- Serve warm and enjoy!
Notes
- Fresh minced garlic can be used instead of garlic powder for a stronger garlic butter flavor.
- Add mozzarella cheese inside the crescent rolls for an extra cheesy variation.
- Brush with a little extra garlic butter after baking for even more flavor.
- These are best served warm and fresh from the oven.
Nutrition


Myra says
I made these and they were delicious!
Kristin says
Yea!!! So glad they were a hit! These are quickly devoured in my house, 🙂
Kathy says
All of your recipes look good
Kristin says
Thanks!! We appreciate the kind words!!