

This quick and easy Bisquick Apple Cobbler recipe is an old-fashioned dessert made with canned apple pie filling, Bisquick baking mix, and a buttery topping. Ready in under an hour, this apple cobbler with Bisquick is perfect for fall gatherings, holidays, or whenever you’re craving something sweet!

Imagine tender, spiced apple pie filling topped with a golden Bisquick crust, served warm with vanilla ice cream or whipped cream. Absolute heaven! This apple cobbler made with Bisquick has all the flavors of homemade apple pie but comes together in a fraction of the time.
If you love fruit cobblers, don't miss my Bisquick Peach Cobbler and Bisquick Blueberry Cobbler for more delicious variations!
Quick Look: Bisquick Apple Cobbler Recipe
- Taste: Sweet, cinnamon-spiced apples with a buttery Bisquick topping.
- Texture: Tender apple filling with a golden, slightly crisp crust.
- Total Time: 45 minutes (5 minutes prep, 40 minutes baking).
- Difficulty: Easy, perfect for beginners.
- Method: Baked in a Bundt pan.
- Servings: 8
- Best Served: Warm with vanilla ice cream, whipped cream, or caramel drizzle.
 Add me as a trusted Google source.
Jump to:
Why You’ll Love this Recipe
This apple cobbler recipe with Bisquick is simple to make, easy to customize, and always a hit with family and friends!
- Easy to Customize: Add chopped nuts, dried cranberries, raisins, or a sprinkle of cinnamon sugar for extra flavor.
- Quick and Easy: Using Bisquick baking mix and canned apple pie filling means less measuring, mixing, and prep work.
- Perfect for Any Occasion: Whether it’s a weeknight dessert, Thanksgiving dinner, or a fall gathering, this easy Bisquick cobbler fits the bill.
Love cobblers? Try my Southern Peach Cobbler, Easy Chicken Cobbler, and Peach Cobbler Dump Cake too!
Ingredient Notes
Full ingredient measurements and instructions can be found in the recipe card below.
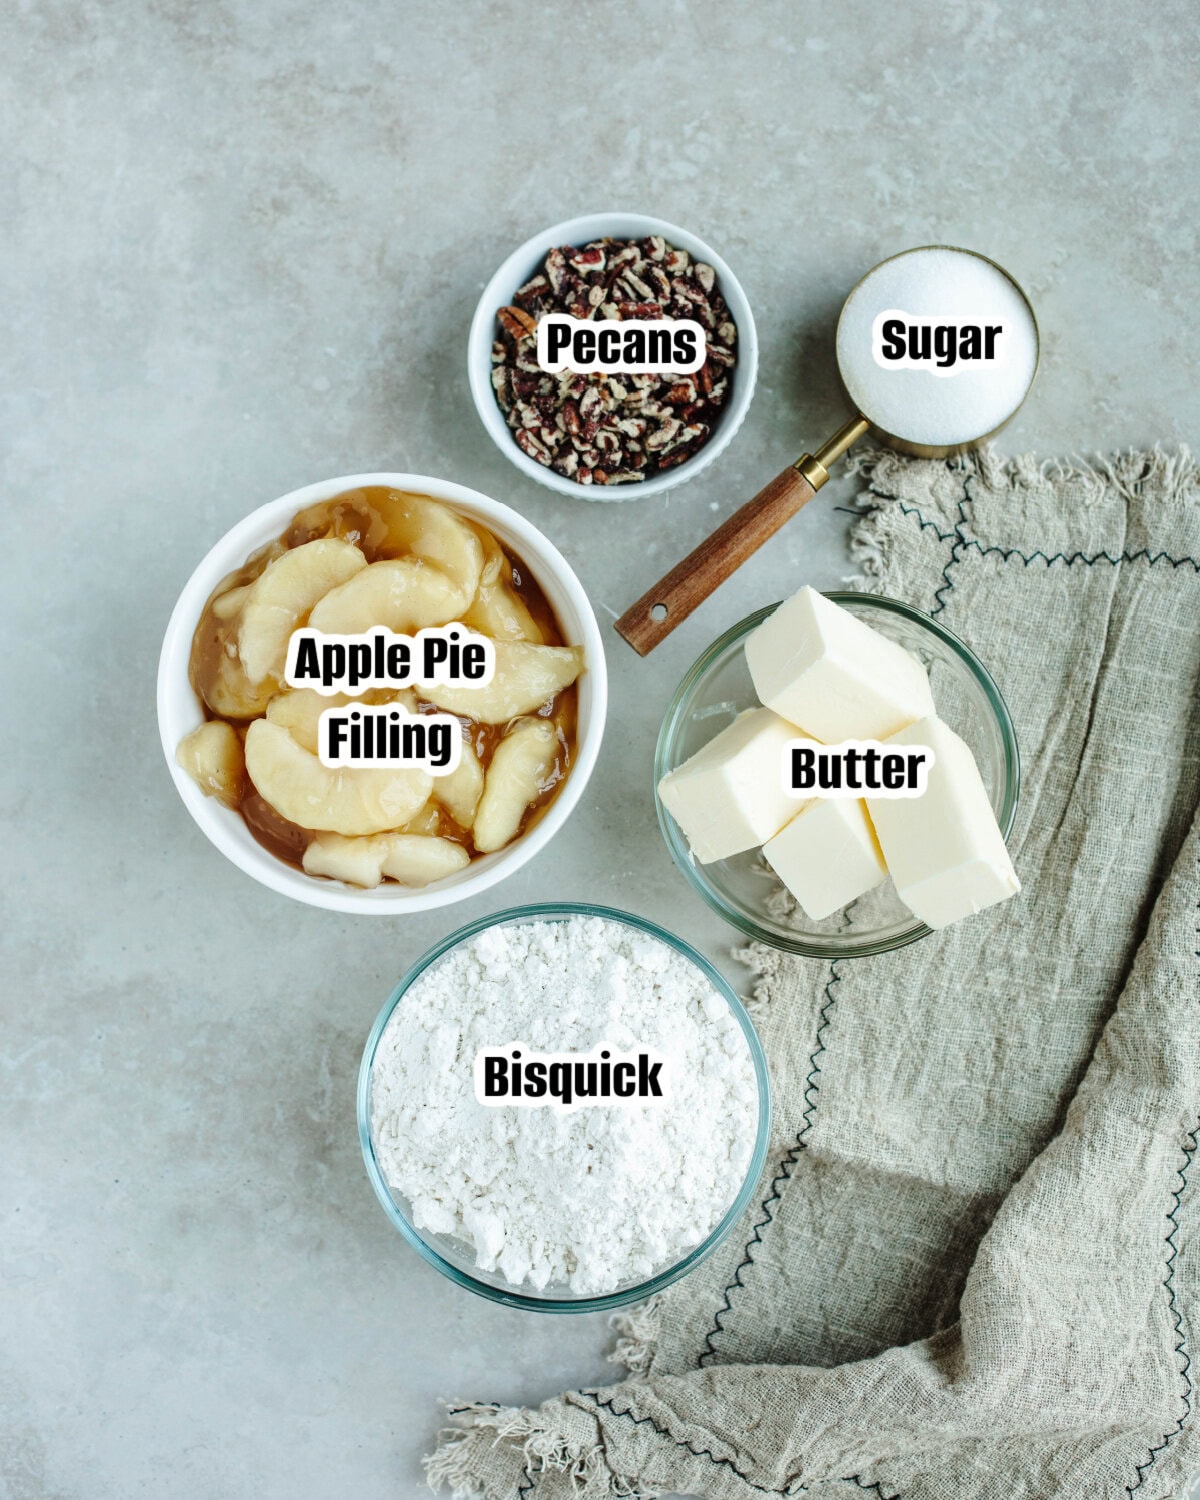
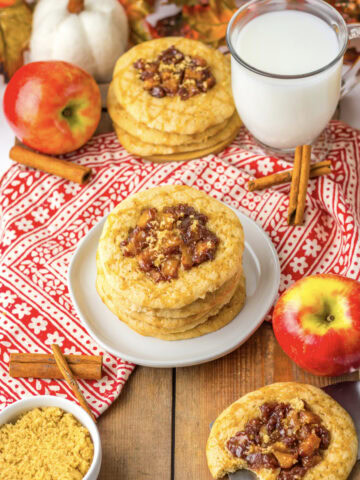
- Apple Pie Filling: Two cans of apple pie filling keep this Bisquick apple cobbler quick and simple. I use canned filling to save time, but fresh apples work with a few adjustments. See variations below. Another fun way to use canned apple pie filling is my Easy Apple Dessert Pizza, which has a cinnamon crumble topping and caramel drizzle!
- Bisquick Mix: The star of the show! Regular Bisquick baking mix creates the golden topping. Gluten-free Bisquick may also work, although the texture can vary. If you love baking with Bisquick, try my Bisquick Coffee Cake too!
- Sugar: Adds sweetness to the topping. Swap half for light brown sugar for a slightly caramelized flavor.
- Butter: Melted butter helps give the cobbler topping its golden brown finish and buttery flavor.
- Pecans (optional): Add a little crunch to balance the soft apple filling.
Variations
- Fresh Apples: Want to make apple cobbler using Bisquick and fresh apples? Try Honeycrisp, Granny Smith, or Gala. Peel, dice, and cook the apples with a little sugar, cinnamon, and water until softened and saucy before using them in place of the canned filling. Have extra apples to use up? My Apple Fritter Bread is another family favorite packed with cinnamon and apples!
- Spices: Add cinnamon, nutmeg, cloves, or pumpkin pie spice for extra fall flavor.
- Brown Sugar Topping: Swap some of the white sugar for light brown sugar for a slightly caramelized topping.
- Different Baking Dishes: Try an 8×8 baking dish, cast iron skillet, or individual ramekins. Baking times may vary, so watch for a golden topping and bubbling filling. Love skillet desserts? My Cast Iron Cherry Cobbler is another fruity dessert with a buttery topping that’s perfect served warm with ice cream!
How to make Bisquick Apple Cobbler with Canned Pie Filling

Step 1. Prepare the pan: Grease a Bundt pan (or 8×8 baking dish). Add the canned apple pie filling and spread evenly across the bottom.

Step 2. Add Bisquick: Sprinkle the dry Bisquick baking mix evenly over the apple filling.

Step 3. Add sugar: Sprinkle sugar evenly over the Bisquick layer.

Step 4. Add butter and nuts: Pour melted butter evenly over the sugar layer. Sprinkle chopped pecans on top, if using.

Step 5. Bake: Place in the oven and bake for about 40 minutes, or until the topping is golden brown and the apple filling is bubbling around the edges.

Step 6. Serve: Scoop the warm apple cobbler into bowls and top with vanilla ice cream, whipped cream, or caramel sauce.
Baking Tips for Success
- Even Layers: Sprinkle the Bisquick mix evenly over the apple filling for a consistent topping.
- Don’t Mix the Bisquick: Add the baking mix dry, without milk or water. The melted butter helps create the golden topping as it bakes.
- Golden Brown Top: Don’t underbake! The topping should be golden brown with the apple filling bubbling around the edges.
- Serve Warm: This apple cobbler is best enjoyed warm with vanilla ice cream, whipped cream, or caramel sauce.
- Gluten-Free Option: Try gluten-free Bisquick in place of regular Bisquick. The topping’s texture may vary.
Serving & Storage
- Best Served Fresh: Enjoy warm from the oven with your favorite toppings.
- Storage: Allow leftovers to cool, then refrigerate in an airtight container for up to 2 days.
- Reheat: Warm in a 350°F oven for 10-15 minutes or microwave in 30-second increments until heated through.
- Make Ahead: Prepare the ingredients ahead of time, but keep the dry Bisquick mixture separate from the apple filling until you’re ready to bake.
Note: I don’t recommend freezing baked Bisquick apple cobbler since the topping may become soggy once thawed.

Bisquick Apple Cobbler FAQs
Absolutely! This recipe uses canned apple pie filling to save time and keep things simple. Just layer the filling with dry Bisquick mix, sugar, and melted butter, then bake until golden brown.
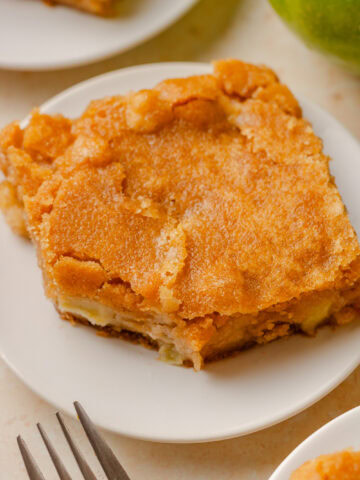
Apple cobbler has a biscuit or cake-like topping, while apple crisp typically has a crumbly topping made with oats, butter, and sugar. Apple crumble is similar but often made without oats. This Bisquick apple cobbler has a buttery, golden topping that’s slightly crisp on top. For another apple dessert with a buttery crumb topping, try my Apple Cinnamon Crumb Cake.
More Apple Recipes You’ll Love


This Bisquick Apple Cobbler is the ultimate shortcut dessert, packed with sweet apple flavor and a buttery golden topping. Whether you serve it for a family night or a holiday gathering, this easy apple cobbler with Bisquick is sure to become a go-to favorite!
Tried this recipe? Leave a ⭐⭐⭐⭐⭐ rating and let me know what you think in the comments! You can also follow me on Pinterest for even more easy, family-friendly recipes.
Want to save this recipe?
Enter your email & I’ll send it to your inbox. Plus, get great new recipes from me every week!

Easy Apple Cobbler with Bisquick
Equipment
Ingredients
- 2 cans apple pie filling 20 oz cans
- 2 cups Bisquick regular or gluten free
- ½ cup sugar or half white/half light brown sugar
- 1 cup butter melted
- ½ cup pecans chopped, optional
Instructions
- Preheat oven to 375°F. Grease a Bundt pan or 8×8 baking dish.
- Spread the canned apple pie filling evenly in the prepared pan.
- Sprinkle the dry Bisquick baking mix evenly over the apples. Do not mix.
- Sprinkle sugar evenly over the Bisquick layer.
- Pour melted butter evenly over the top.
- Sprinkle with pecans, if using.
- Bake for 40-45 minutes, or until the topping is golden brown and the filling is bubbling around the edges.
- Serve warm with vanilla ice cream or whipped cream.
Notes
- Gluten-Free Option: Use gluten-free Bisquick and check that your canned apple pie filling is gluten-free. The topping texture may vary.
- Fresh Apples: For a homemade variation, use Granny Smith or Honeycrisp apples. Cook them with a little sugar, cinnamon, and water until softened and saucy before adding them to the baking dish. This variation hasn’t been tested with the exact recipe quantities.
- Storage: Refrigerate leftovers in an airtight container for up to 2 days. Reheat before serving.
- Other Pie Fillings: Try peach or blueberry pie filling for another easy Bisquick cobbler variation!
Nutrition
Catalina says
The apples got soft and bubbly underneath. Perfect warm with ice cream!
Kristin Hayes says
The best combo! Glad you enjoyed!
Amy says
You’ve truly combined the best of both worlds here! This is exactly the kind of dessert that makes the whole house smell amazing while it’s baking.
Kristin Hayes says
Yay!! Great feedback, glad you enjoyed!
Ben says
I mean, you can’t get better than this. I didn’t have to make any batter or cook any filling. Nothing is more delicious than easy!
Kristin Hayes says
Soooo good!! Glad to hear you enjoyed too!