

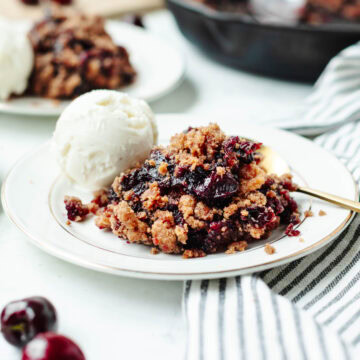
This Cast Iron Cherry Cobbler is made with fresh cherries, a buttery cinnamon topping, and baked until the cherry filling is bubbly and the topping is golden brown in a cast iron skillet. Serve it warm with a scoop of vanilla ice cream for an easy summer dessert.
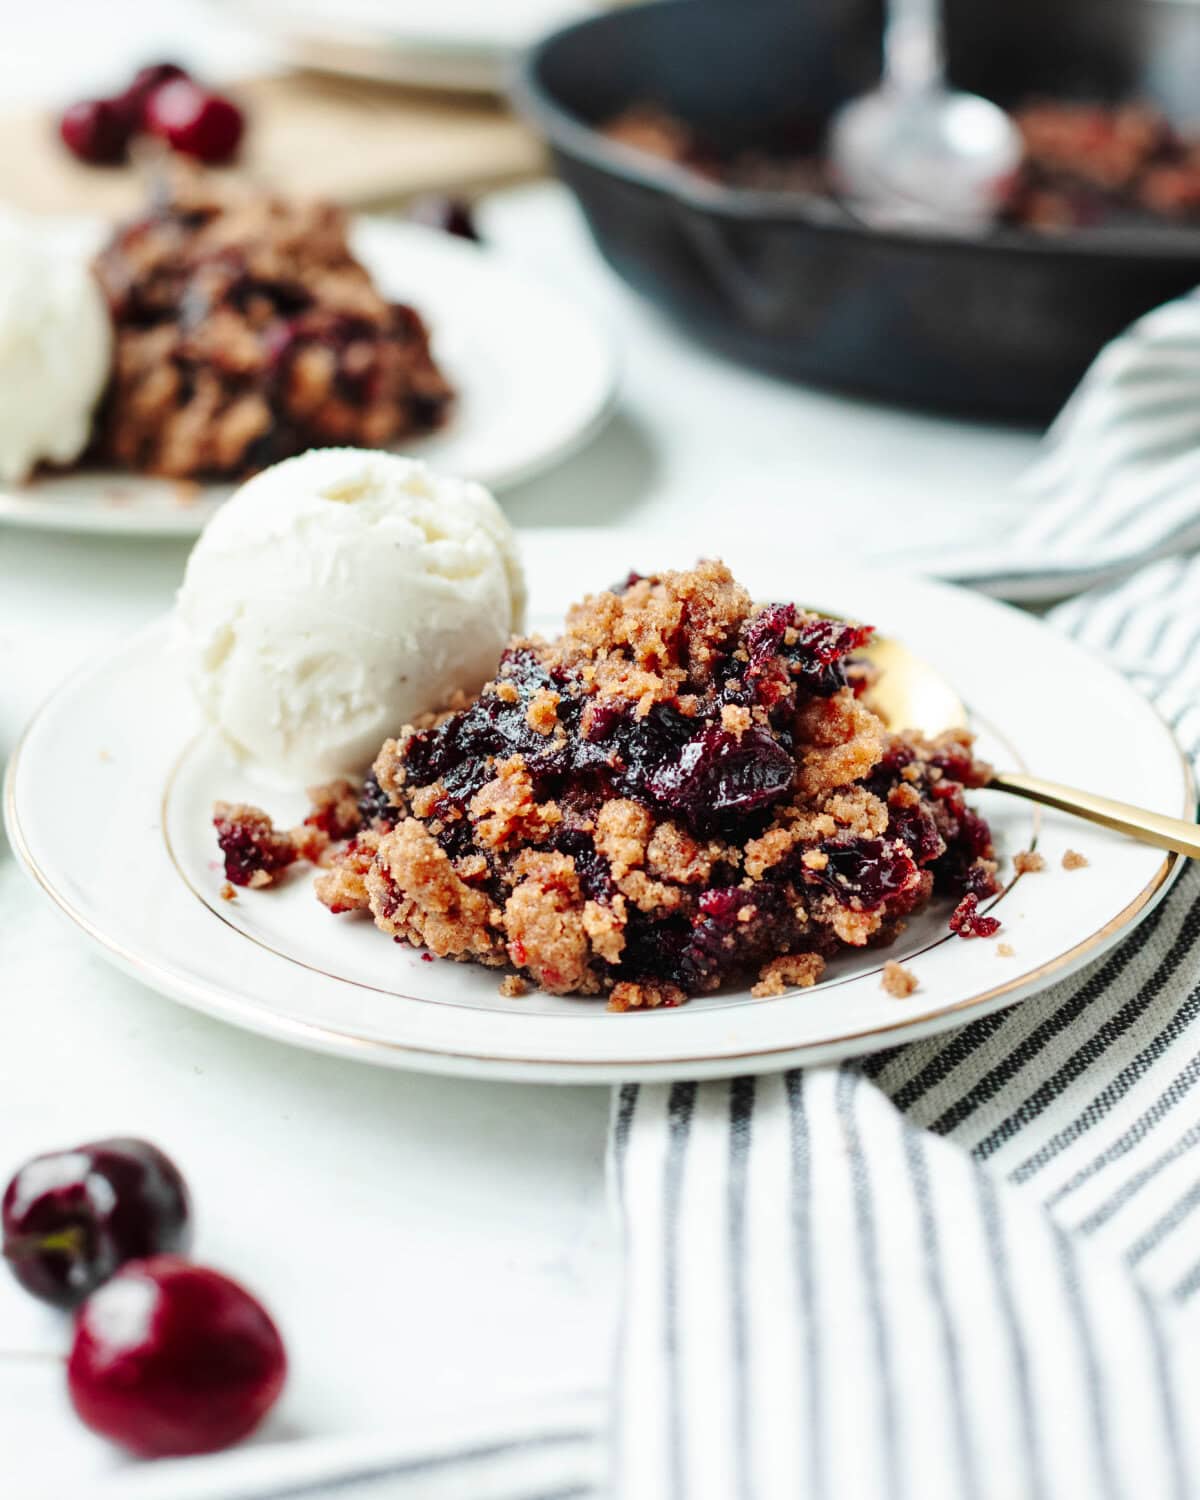
Believe it or not, I’m usually a chocolate dessert girl. Brownies, cakes, and cookies are much more my style than fruit desserts! My son, on the other hand, loves just about any fruit dessert and always requests my Bisquick Peach Cobbler or Bisquick Apple Cobbler for his birthday.
When I spotted fresh cherries on sale at the grocery store, I grabbed a bag thinking we’d snack on them. Instead, my son suggested turning them into a cherry cobbler, and I couldn’t resist giving it a try. We baked ours in a cast iron skillet on the smoker, but you can just as easily bake it in the oven. The sweet cherry filling and buttery streusel topping were such a hit that even this chocolate lover went back for seconds! If you have extra cherries to use up, be sure to check out my Chocolate Cherry Muffins, too.
Quick Look: Cast Iron Cherry Cobbler
- Prep Time: 10 minutes
- Bake Time: 35 minutes
- Total Time: 45 minutes
- Servings: 6
- Perfect For: Summer desserts, BBQs, potlucks, and family gatherings.
SUMMARIZE & SAVE THIS CONTENT ON
 Add me as a trusted Google source.
I made this recipe! it was easy and delicious!
Ingredient Notes
See the printable recipe card below for the full list of ingredients, exact measurements, and step-by-step directions.
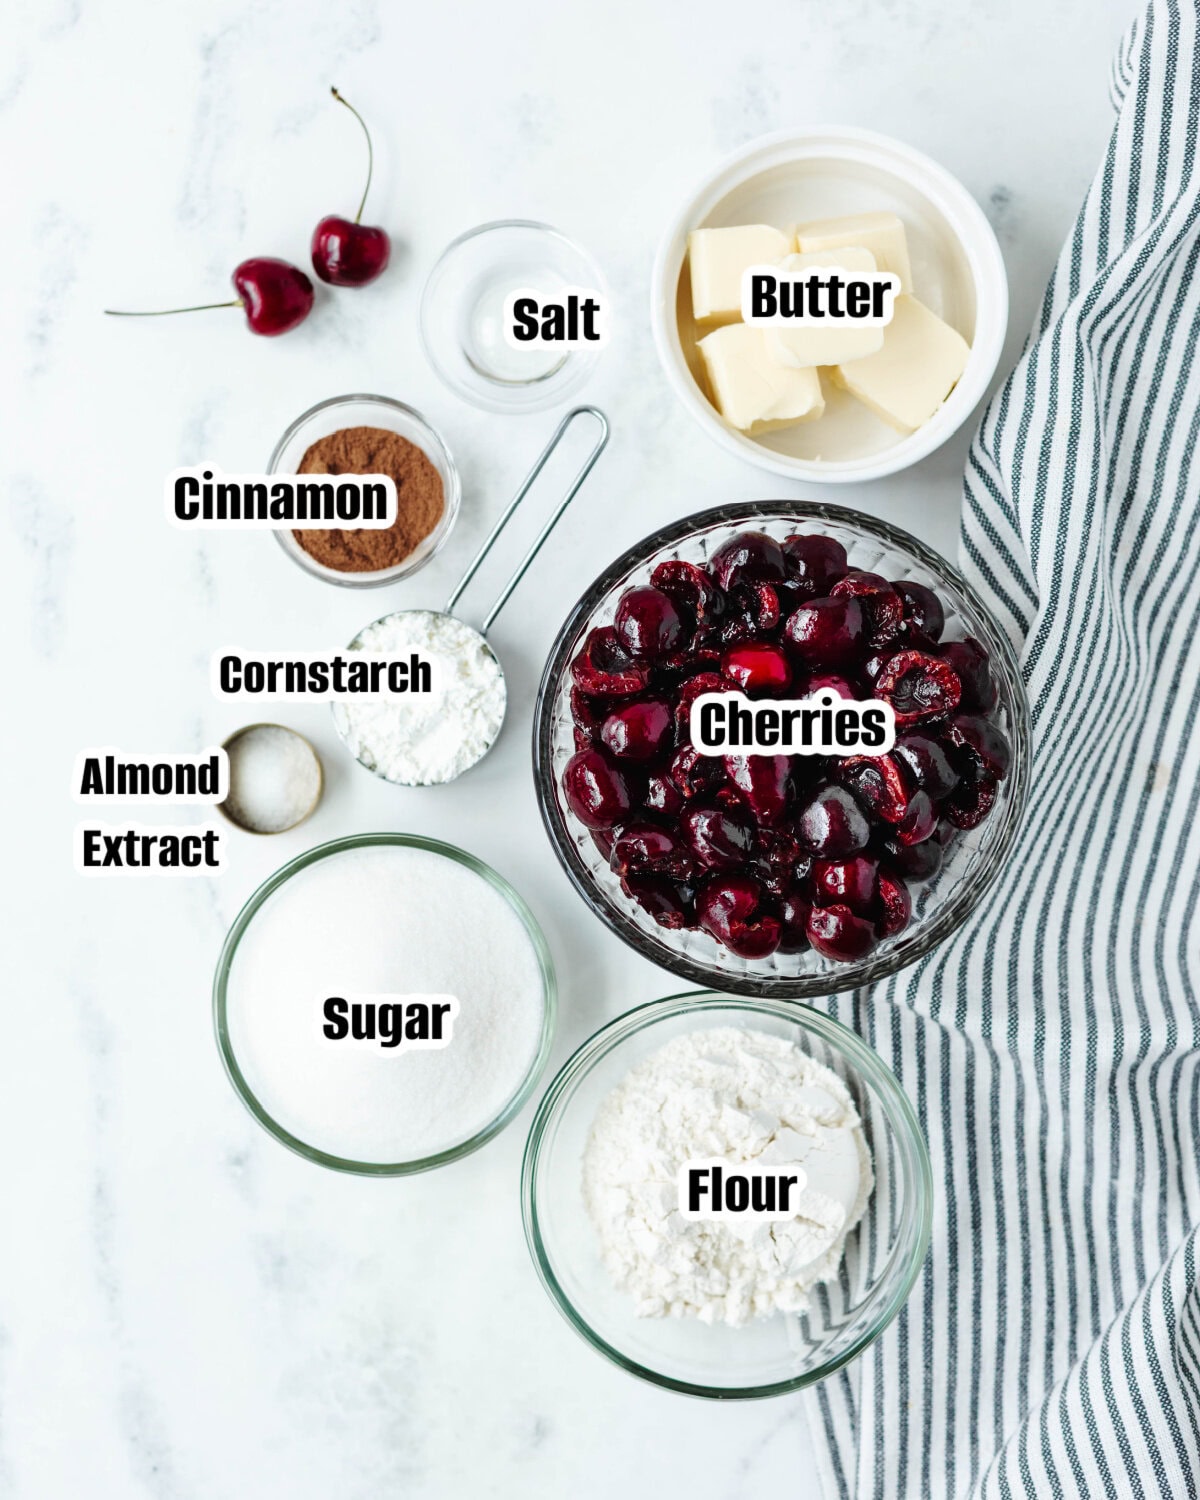
- Fresh Cherries: Sweet cherries, such as Bing cherries, work best in this recipe. If using tart or sour cherries, you may want to add a little extra sugar to balance the sweetness.
- Almond Extract: Almond extract pairs perfectly with cherries and enhances their natural flavor. If you don’t have any on hand, vanilla extract can be substituted for a slightly different taste.
- Cast Iron Skillet: I use a 10.25-inch cast iron skillet because it creates delicious golden edges and bakes the cobbler evenly. Don’t have one? An 8×8-inch baking dish works just as well.
How to Make Cast Iron Cherry Cobbler
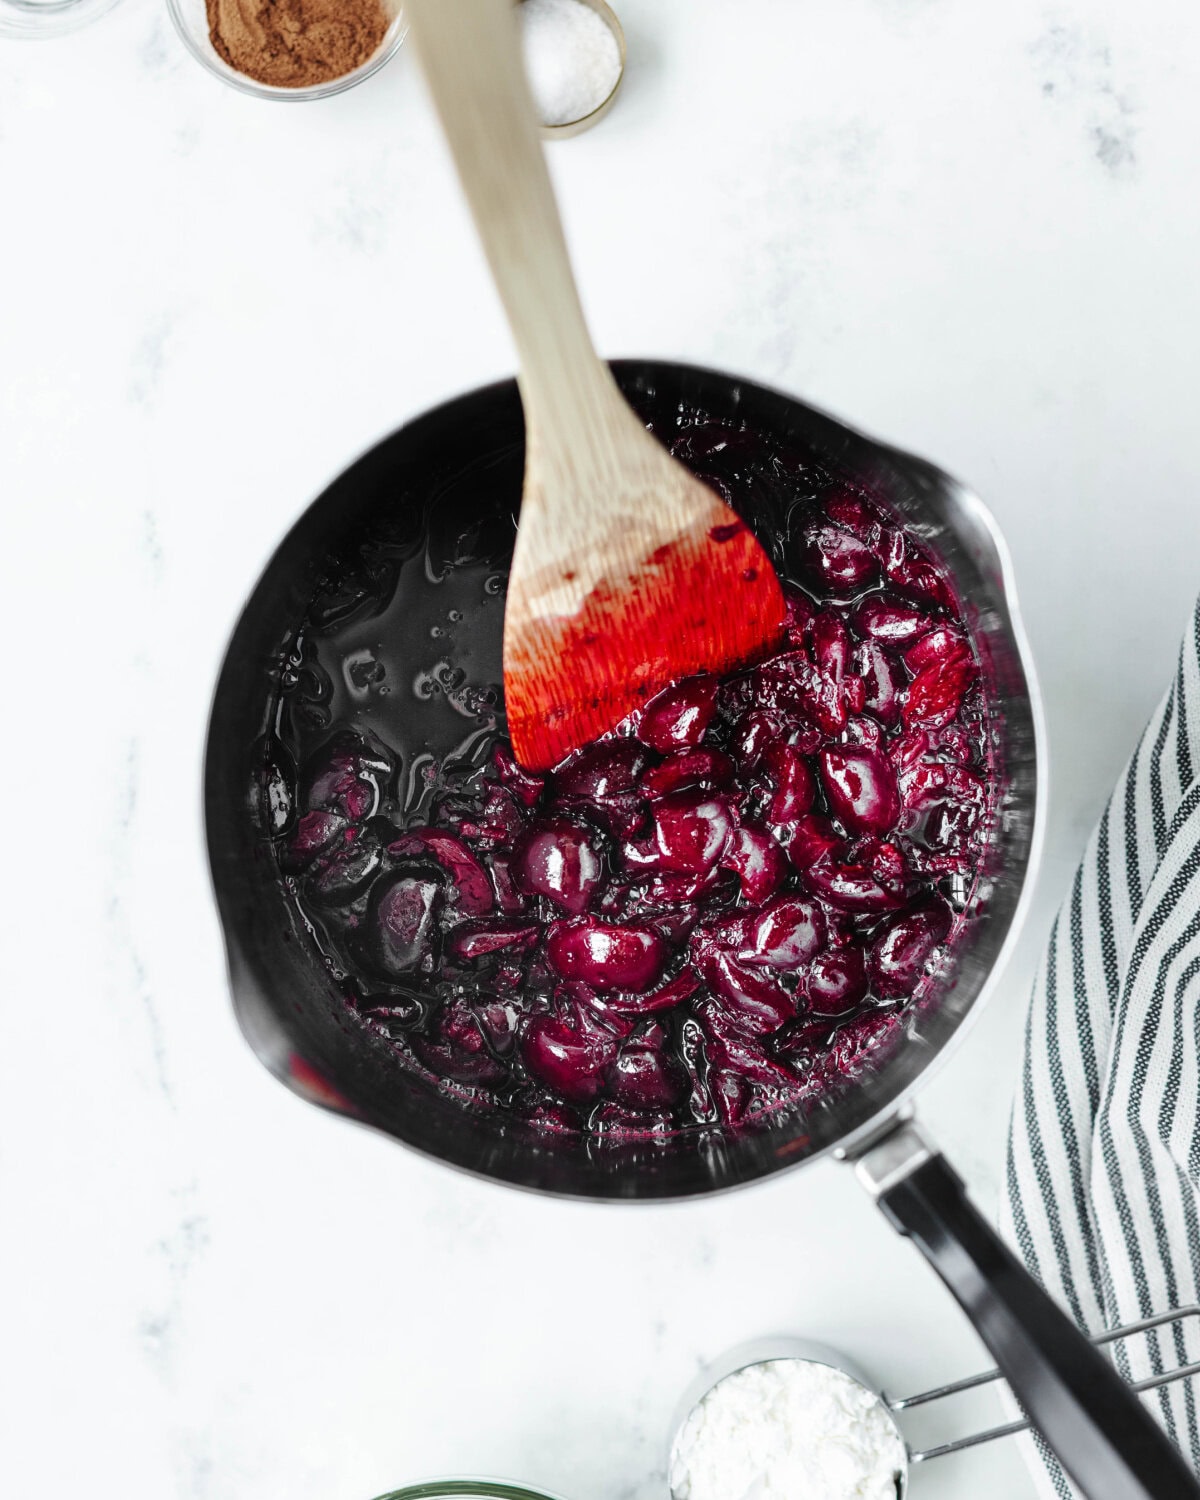
Step 1. Preheat the oven or smoker to 400°F. Add the cherries to a saucepan and cook over medium heat for about 10 minutes, stirring occasionally. Stir in the sugar, cornstarch, and almond extract. Reduce the heat to low and simmer for 3-5 minutes, or until the cherry mixture begins to thicken.
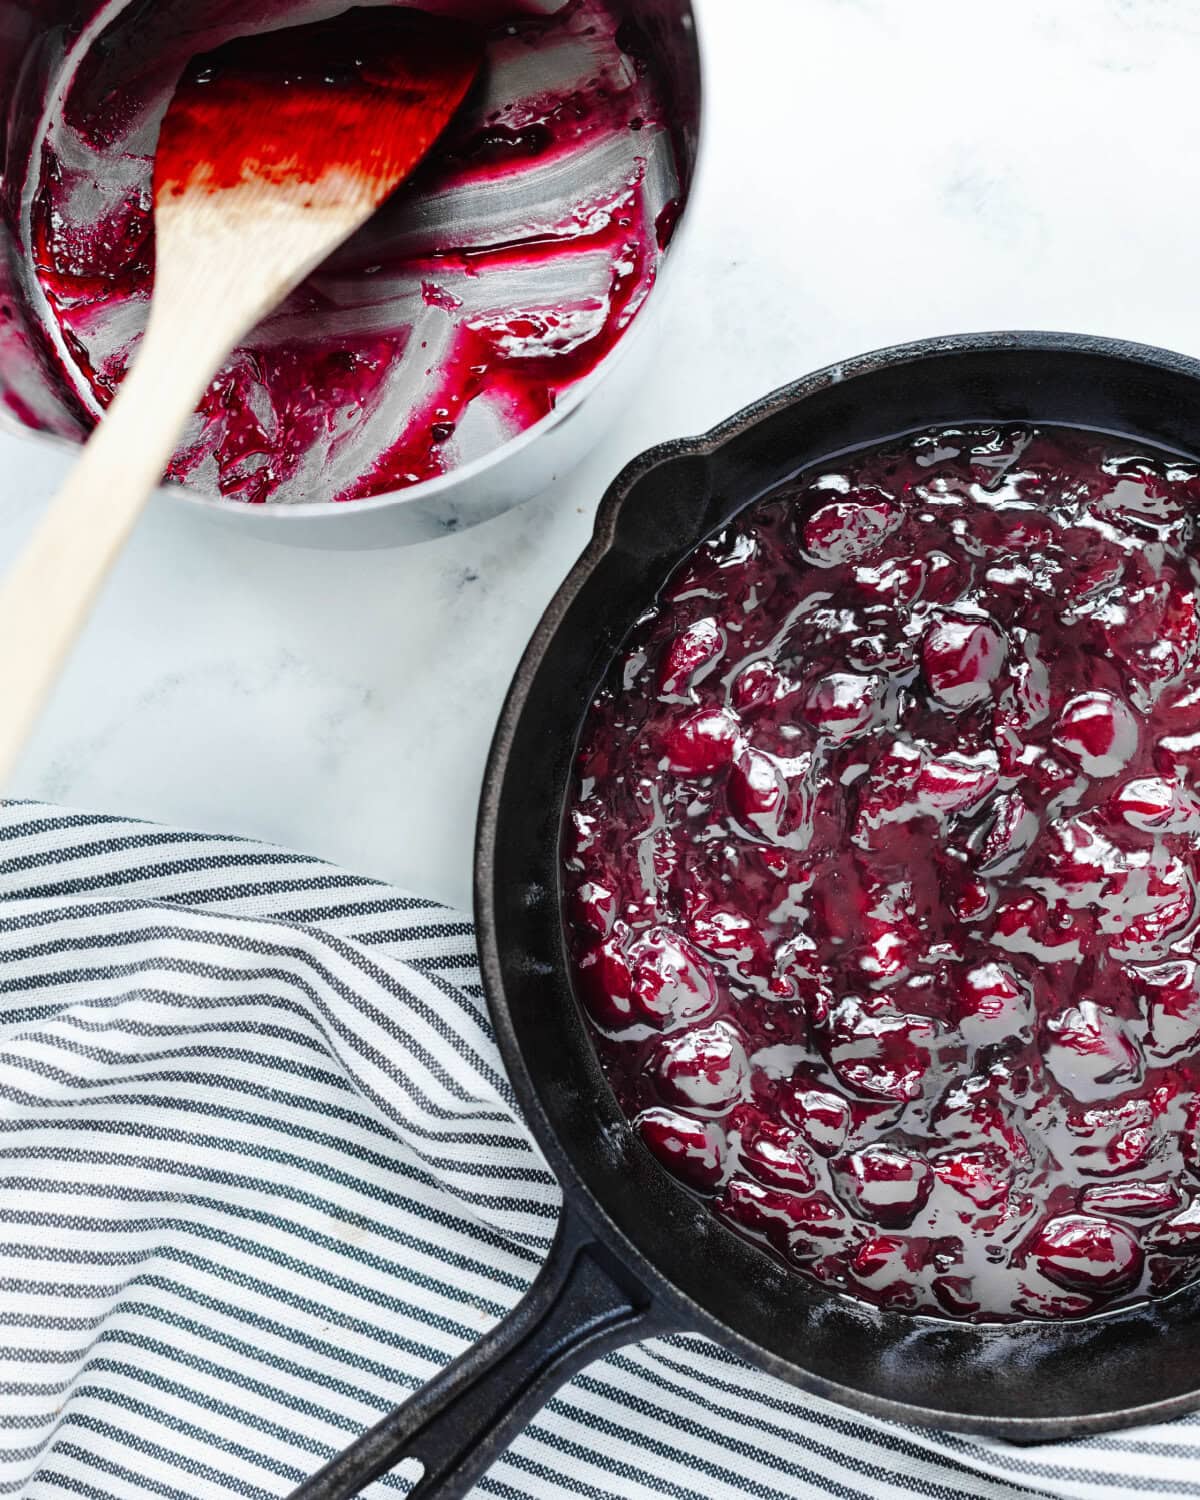
Step 2. Remove the cherry mixture from the heat and pour it into a 10.25-inch cast iron skillet or an 8×8-inch baking dish.
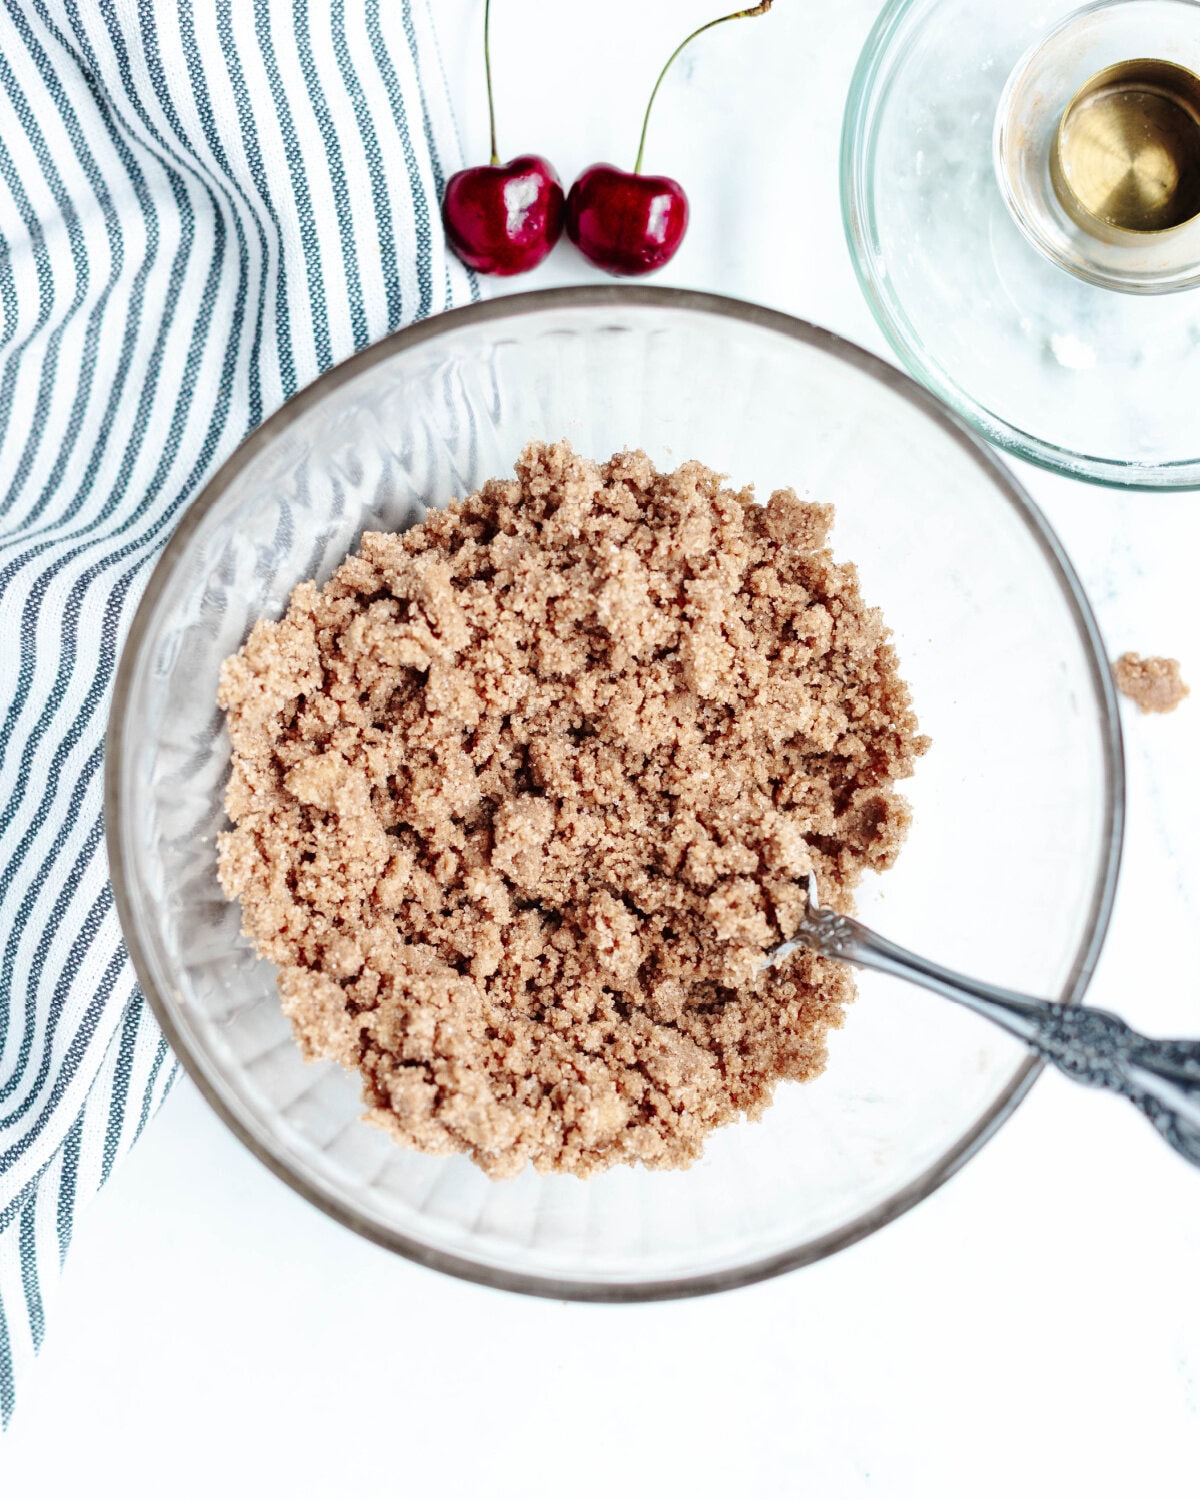
Step 3. In a medium bowl, combine the flour, sugar, cinnamon, and salt. Cut in the butter with a pastry blender or two forks until the mixture resembles coarse crumbs.
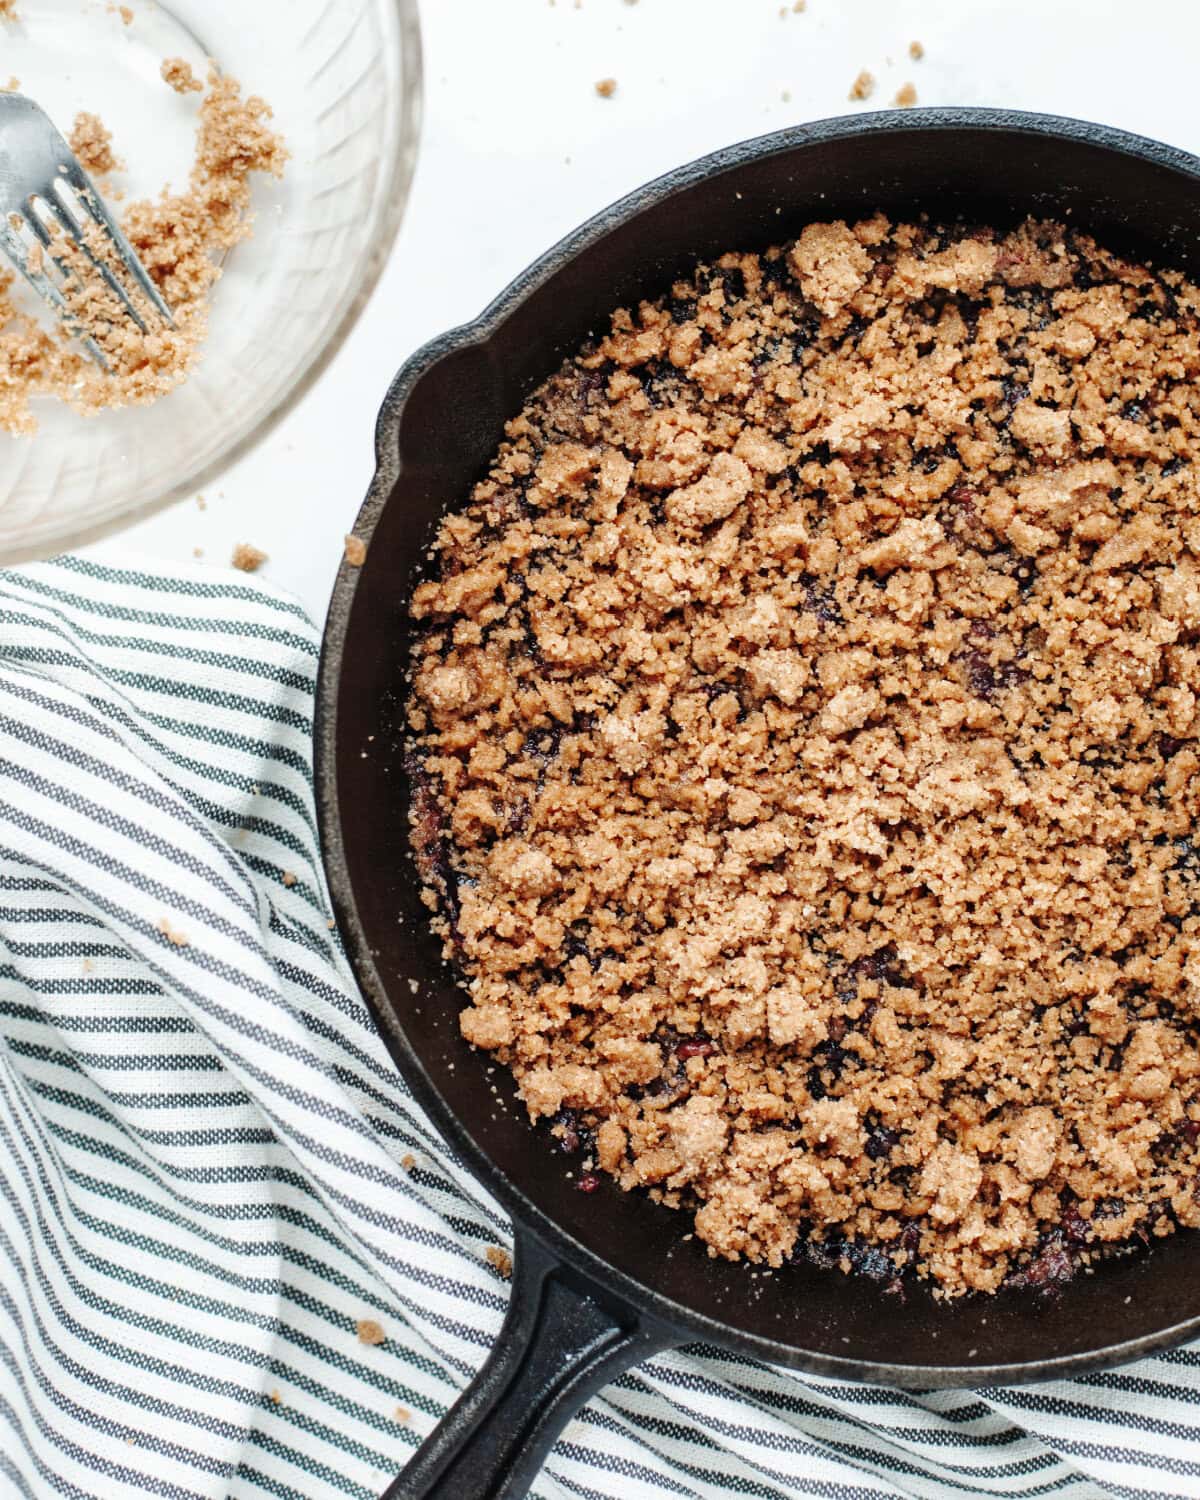
Step 4. Sprinkle the topping evenly over the cherry mixture.
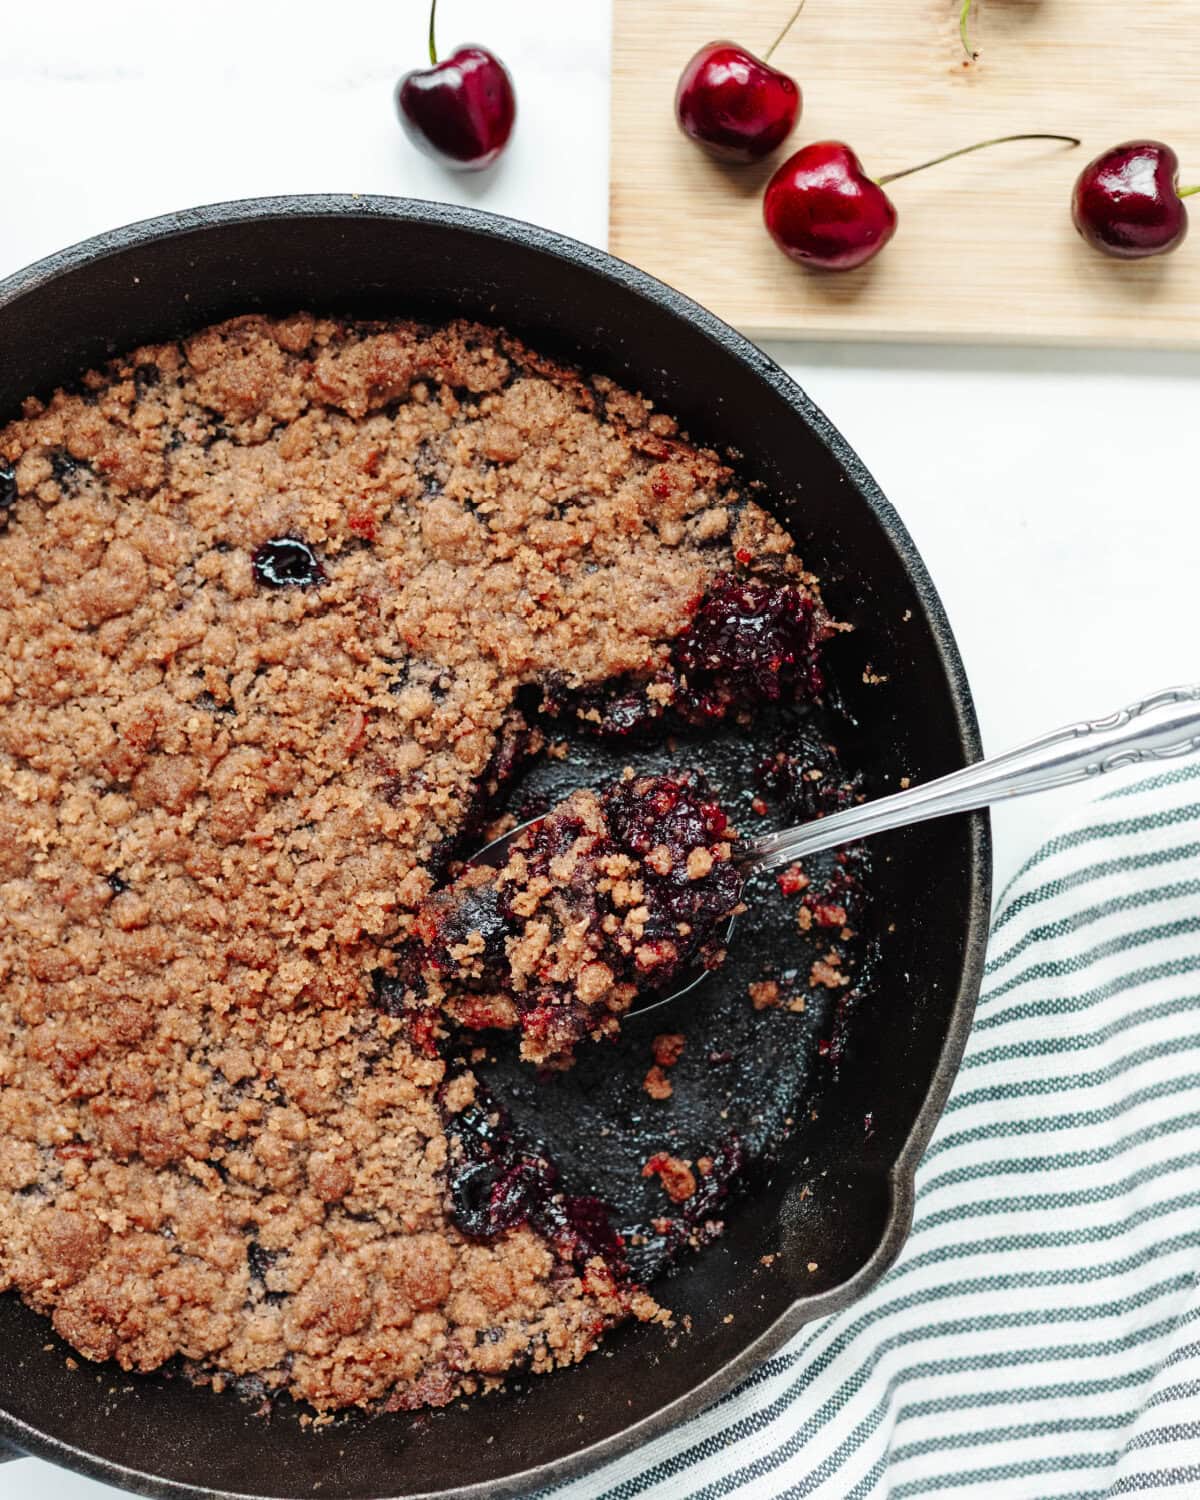
Step 5. Bake in the oven or cook on the smoker for 30-35 minutes, or until the topping is golden brown and the cherry filling is hot and bubbling around the edges.
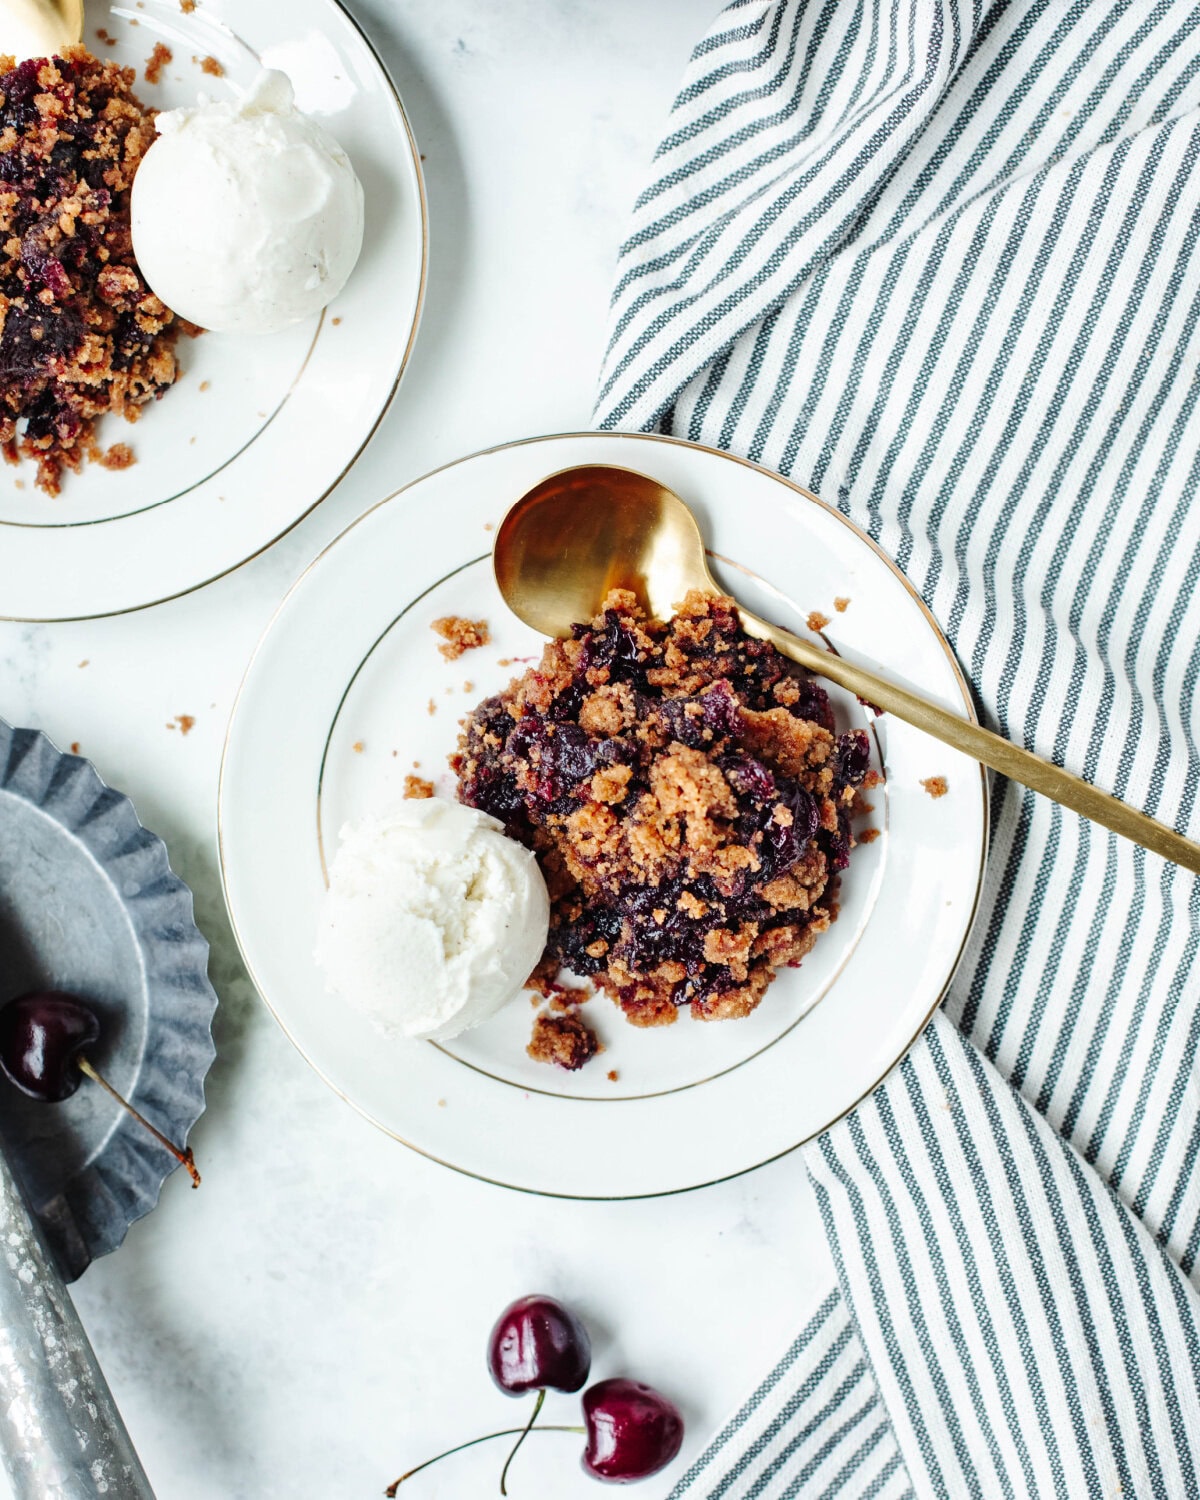
Step 6. Remove from the oven or smoker and let the cobbler cool for 10-15 minutes before serving. Enjoy it warm as is or with a scoop of vanilla ice cream.
Baking Tips
- Use ripe, fresh cherries: The sweeter the cherries, the sweeter your cobbler will be. If using tart cherries, you may want to add a little extra sugar to the filling.
- Don’t rush the filling: Simmer the cherry mixture until it begins to thicken before transferring it to the skillet. This helps prevent a runny cobbler.
- Watch for bubbling edges: The cobbler is done when the topping is golden brown and the cherry filling is bubbling around the edges.
- Let it rest: Allow the cobbler to cool for 10-15 minutes before serving so the filling has time to set.
- Serve it warm: This cobbler is delicious on its own, but it’s even better with a scoop of vanilla ice cream or a dollop of whipped cream.
- Love homemade cobblers? Be sure to try my Southern Peach Cobbler or Smoked Bourbon Peach Cobbler next. They’re two more family favorites that are perfect for summer.
Storage & Reheating
- Refrigerator: Store leftover cherry cobbler covered in the fridge for up to 4 days.
- Freezer: Wrap the cooled cobbler tightly or transfer it to a freezer-safe container and freeze for up to 3 months. Thaw overnight in the refrigerator before reheating.
- Reheating: Warm individual servings in the microwave for 30-60 seconds, or reheat the entire skillet or baking dish in a 325°F oven until heated through.
Cast Iron Cherry Cobbler Recipe FAQs
Yes! Frozen cherries work well if fresh cherries aren’t in season. Thaw and drain any excess liquid before making the filling to help prevent a watery cobbler.
Absolutely! If you don’t have a cast iron skillet, prepare the recipe in an 8×8-inch baking dish and bake as directed. You’ll still end up with a delicious homemade cherry cobbler.
The cobbler is ready when the topping is golden brown and the cherry filling is bubbling around the edges. If the topping is browned but the filling isn’t bubbling yet, continue baking for a few more minutes.
While the names are often used interchangeably, a cobbler traditionally has a biscuit or batter topping, while a crisp includes oats in the topping. This recipe uses a buttery cinnamon crumb topping without oats, giving it the best of both worlds.
More Cast Iron Skillet Recipes You’ll Love
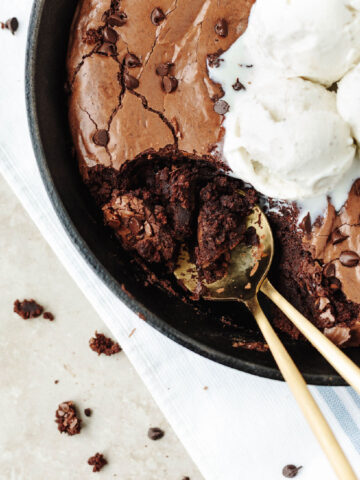
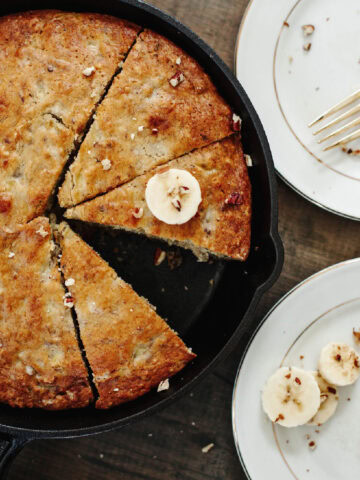
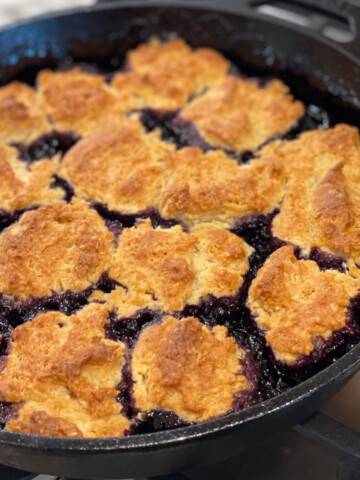
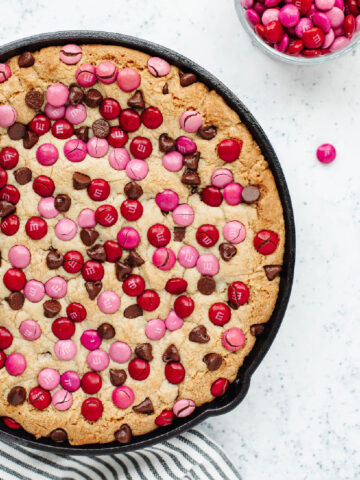
Tried this recipe? Leave a ⭐⭐⭐⭐⭐ rating and let me know what you think in the comments! You can also follow me on Pinterest for even more easy, family-friendly recipes.
Want to save this recipe?
Enter your email & I’ll send it to your inbox. Plus, get great new recipes from me every week!
Cast Iron Cherry Cobbler
Ingredients
Cherry Filling
- 3 cups fresh cherries pitted
- ¾ cup granulated sugar
- ¼ cup cornstarch
- ½ tablespoon almond extract
Crumb Topping
- ½ cup all-purpose flour
- ½ cup granulated sugar
- ½ cup butter cold and cut into small cubes
- 1 tablespoon ground cinnamon
- ½ teaspoon salt
Instructions
- Preheat the oven or smoker to 400°F. Add the cherries to a saucepan and cook over medium heat for about 10 minutes, stirring occasionally. Stir in the sugar, cornstarch, and almond extract. Reduce the heat to low and simmer for 3-5 minutes, or until the cherry filling begins to thicken.
- Remove the cherry filling from the heat and pour it into a 10.25-inch cast iron skillet or an 8×8-inch baking dish.
- In a medium bowl, combine the flour, sugar, cinnamon, and salt. Cut in the butter with a pastry blender or two forks until the mixture resembles coarse crumbs.
- Sprinkle the topping evenly over the cherry filling.
- Bake for 30-35 minutes, or until the topping is golden brown and the cherry filling is bubbling around the edges.
- Allow the cobbler to cool for 10-15 minutes before serving. Enjoy warm with a scoop of vanilla ice cream if desired.
Notes
- A 10.25-inch cast iron skillet creates crisp, golden edges, but an 8×8-inch baking dish works just as well.
- Sweet cherries like Bing cherries work best, though tart cherries can be substituted if you increase the sugar slightly.
- Let the cobbler rest for 10-15 minutes before serving so the cherry filling has time to thicken.
- Leftovers can be stored covered in the refrigerator for up to 4 days or frozen for up to 3 months.
- No cherry pitter? Simply slice each cherry in half with a paring knife and remove the pit by hand.
Bonnie Driscoll says
I made this recipe! it was easy and delicious!
Kristin says
YAY! Glad to hear you enjoyed it too!